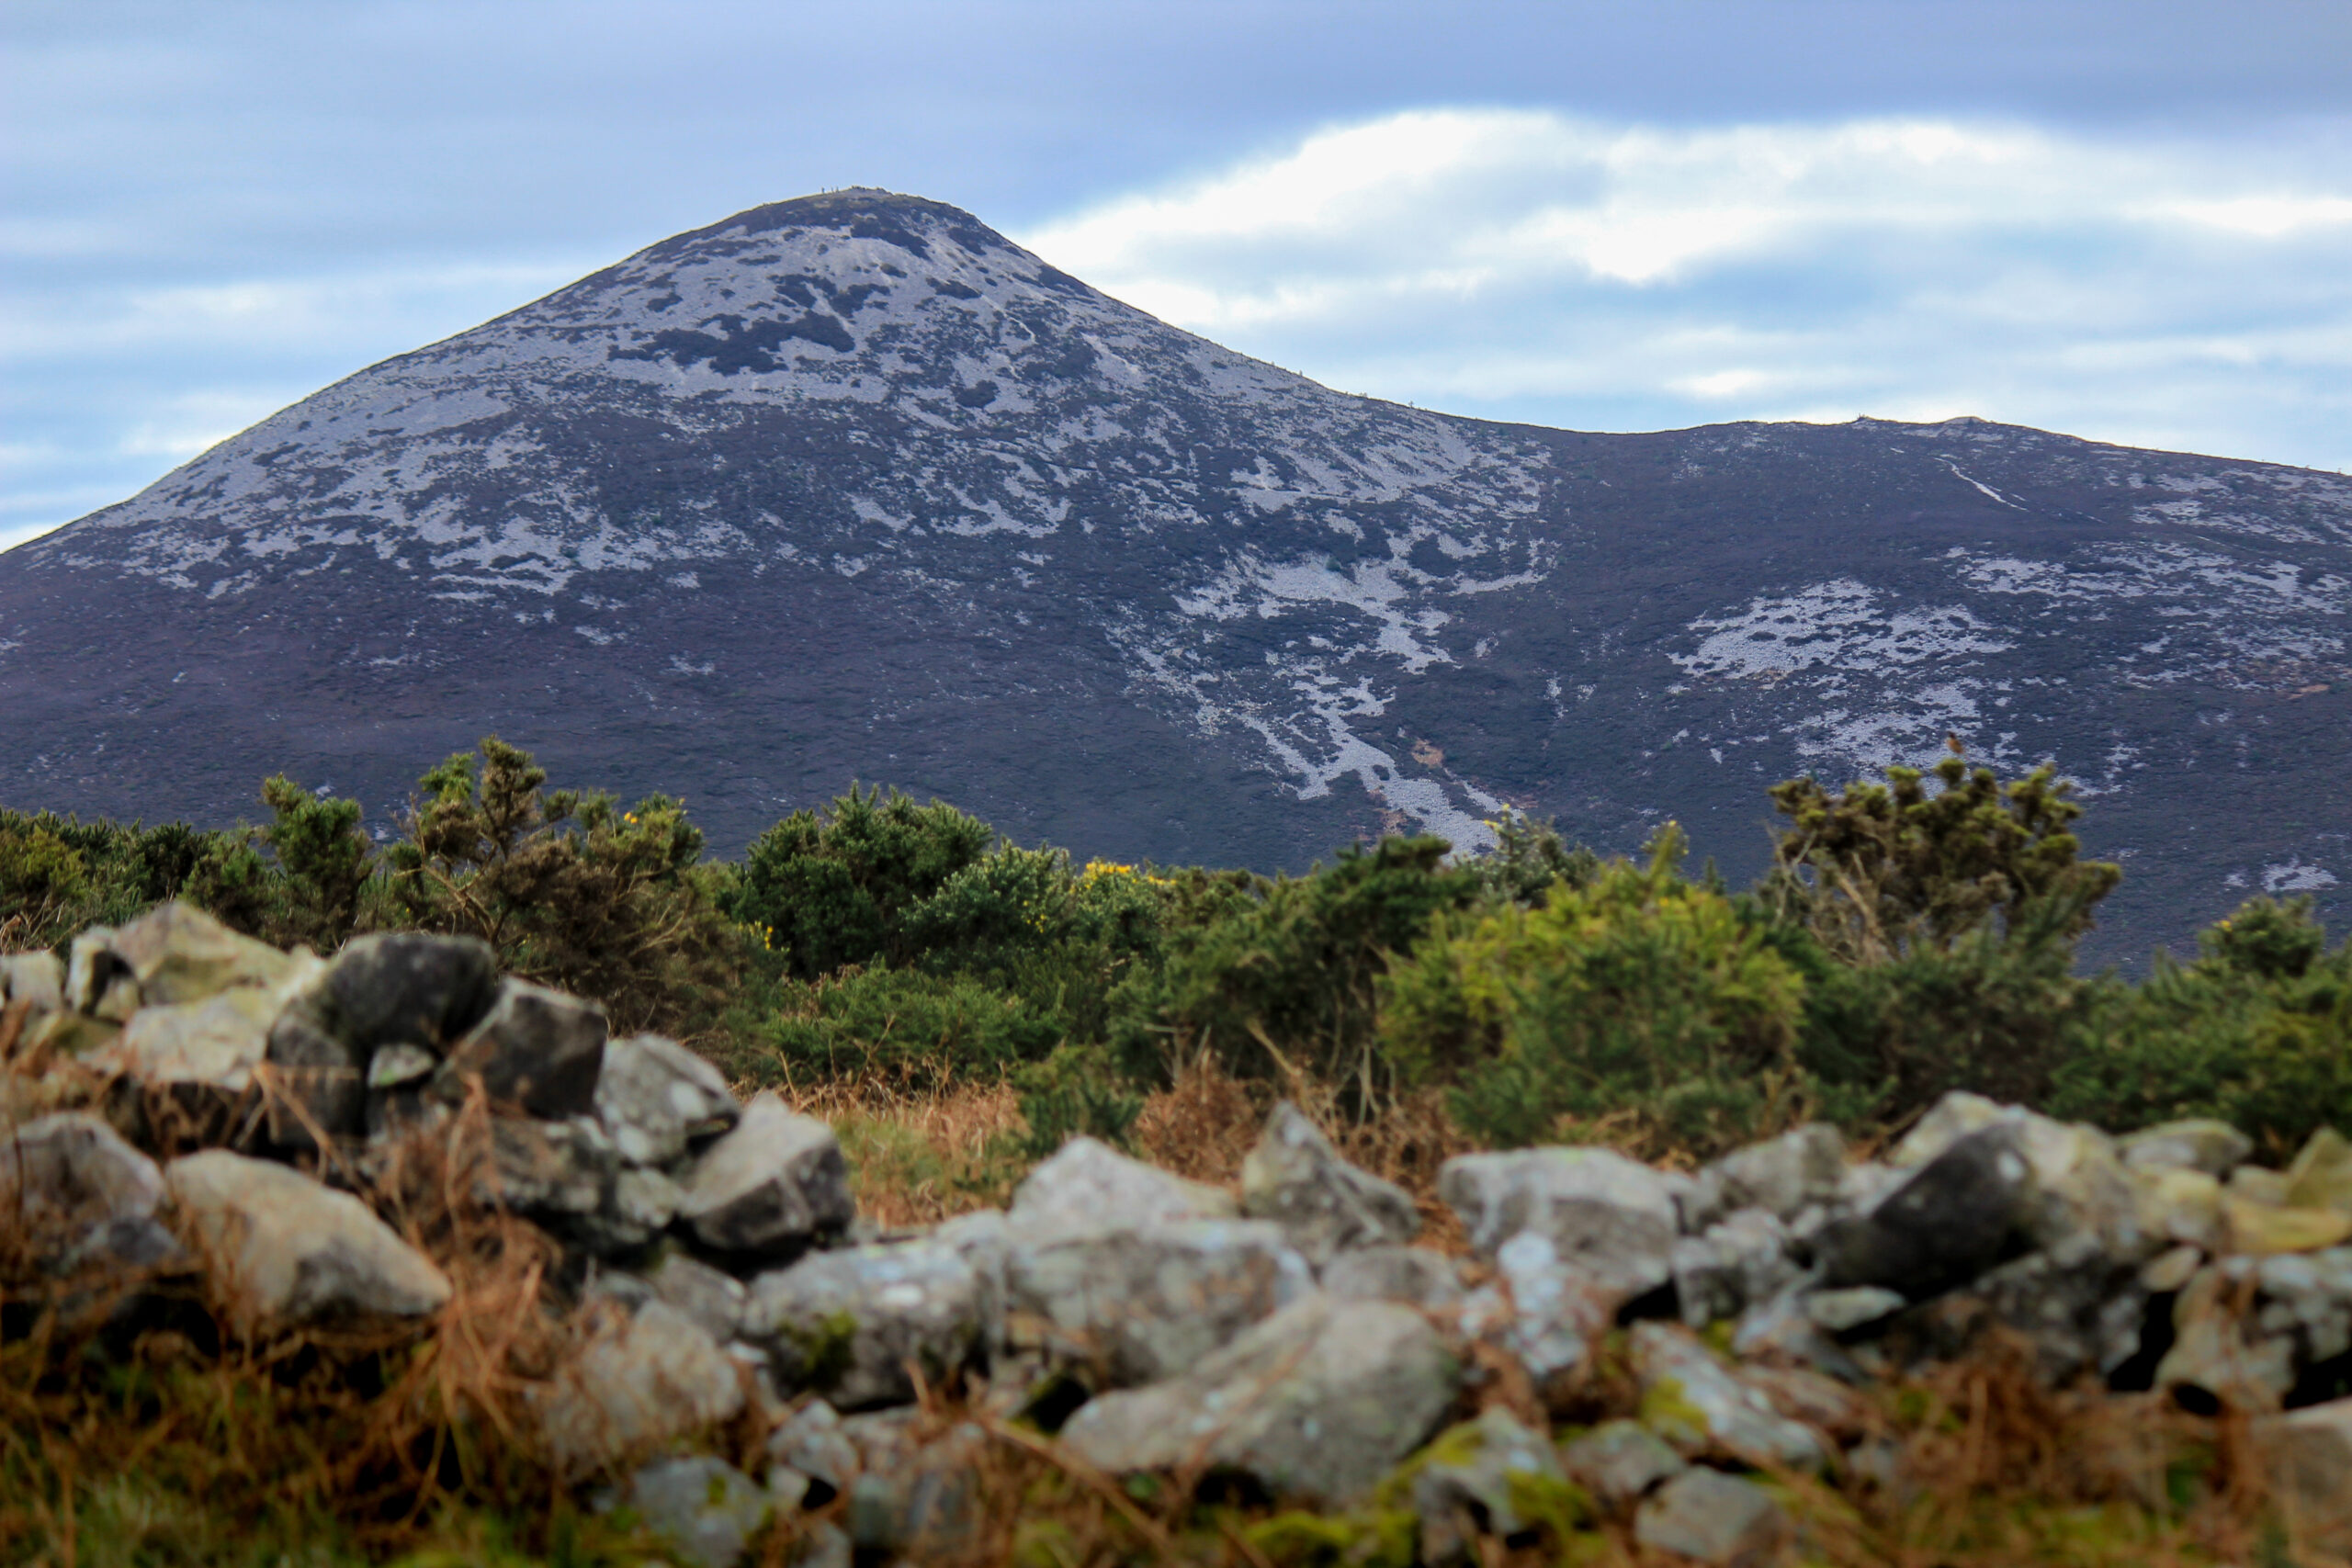
Arangieskop is considered to be the ‘Mount Kilimanjaro of the Cape’, not necessarily because of its height, but because of how the whole first day is ‘up, up, up’ and the second day is ‘down, down, down’. The 21km loop trail up and down the 1696m mountain is typically hiked in two days, with an overnight stop at the Arangieskop hut 200m below the summit. If you live in Cape Town, it’s an excellent weekend option to spice things up a bit if you’re tiring of Table Mountain.
We did the hike on 31 October and 1 November 2021 – the first day was extremely hot and sunny (33°C high) and the second day was very cloudy, windy and eventually rainy (17°C high). The weather the first day was perfect for enjoying the views and the icy cold mountain water at the rock pools. The only sad thing was that at 1500m on top of a mountain on Halloween, we didn’t get many trick-or-treaters. If the weather forecast for the second day had a higher chance of rain earlier in the day, I would have been reluctant to do the hike given the steepness of the descent.
Required Fitness + Exposure to Heights
The hike is less of a technical challenge than an endurance challenge. If you’ve hiked India Venster or Kasteelspoort in Cape Town, you probably won’t struggle too much with the exposure to heights and climb. Personally, I was really nervous about the hike because of stories of the exposed descent, but I found climbing the backside of Devil’s Peak or scrambling up Myburgh Ravine a more terrifying experience. There wasn’t any point along this hike where I thought slipping could lead to falling off a cliff (and I have a moderate fear of heights). That said, if the mountain had been recently rained on, hiking down would have been slow-going.
Day 1: Up to Arangieskop Hut
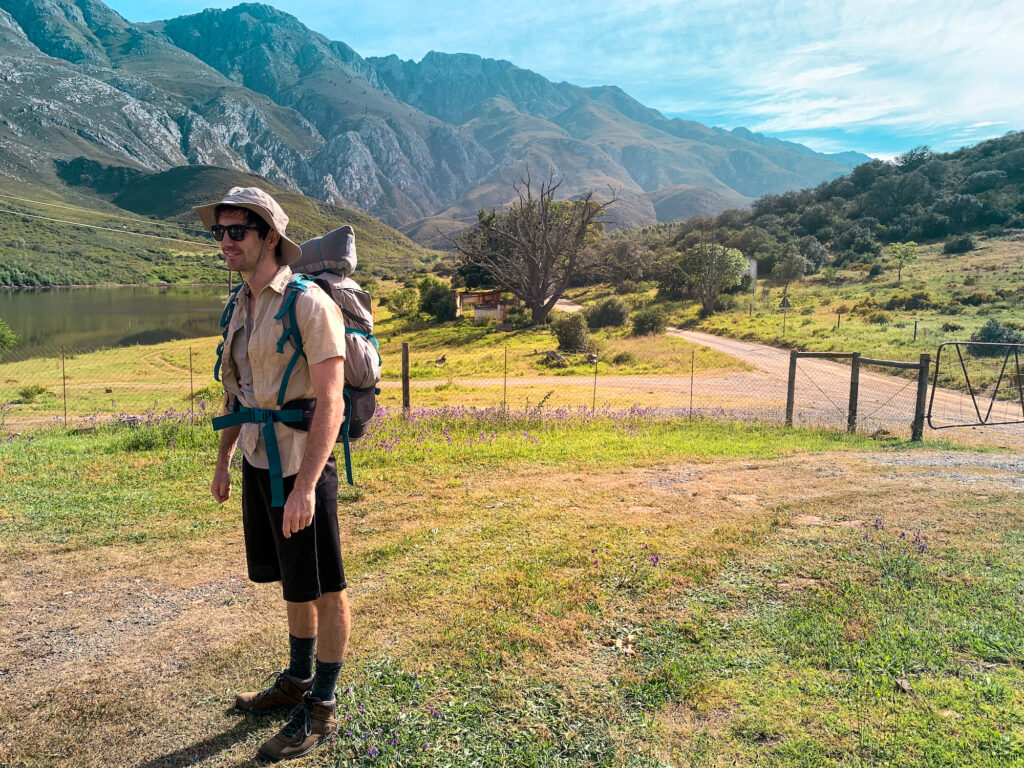
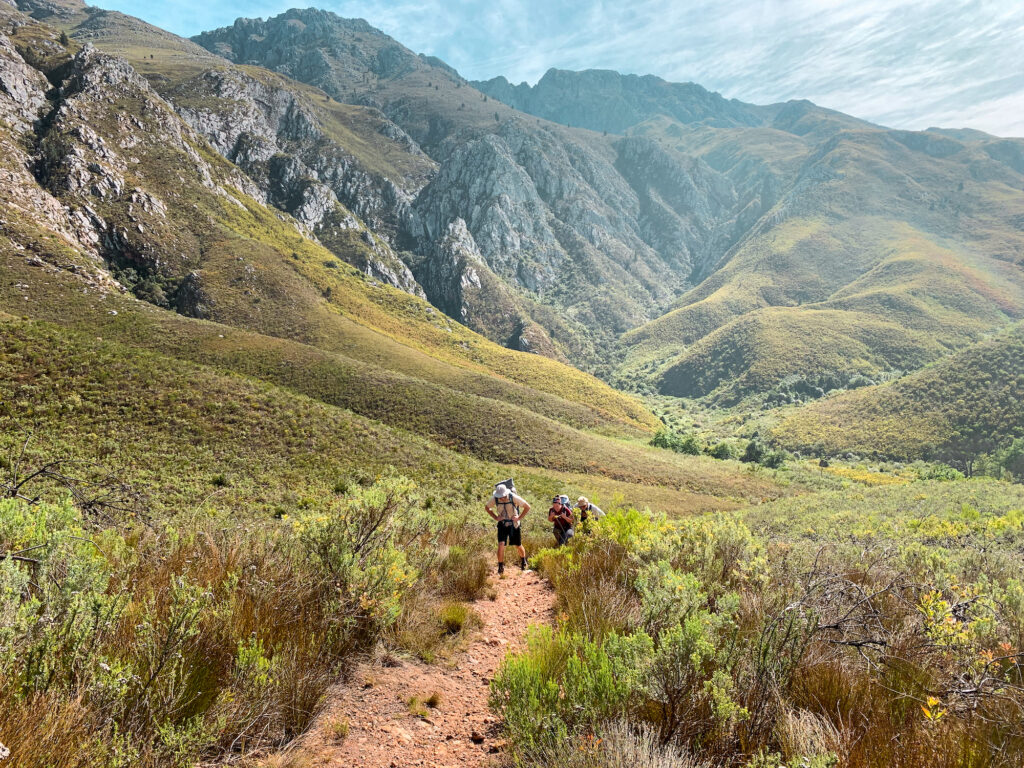
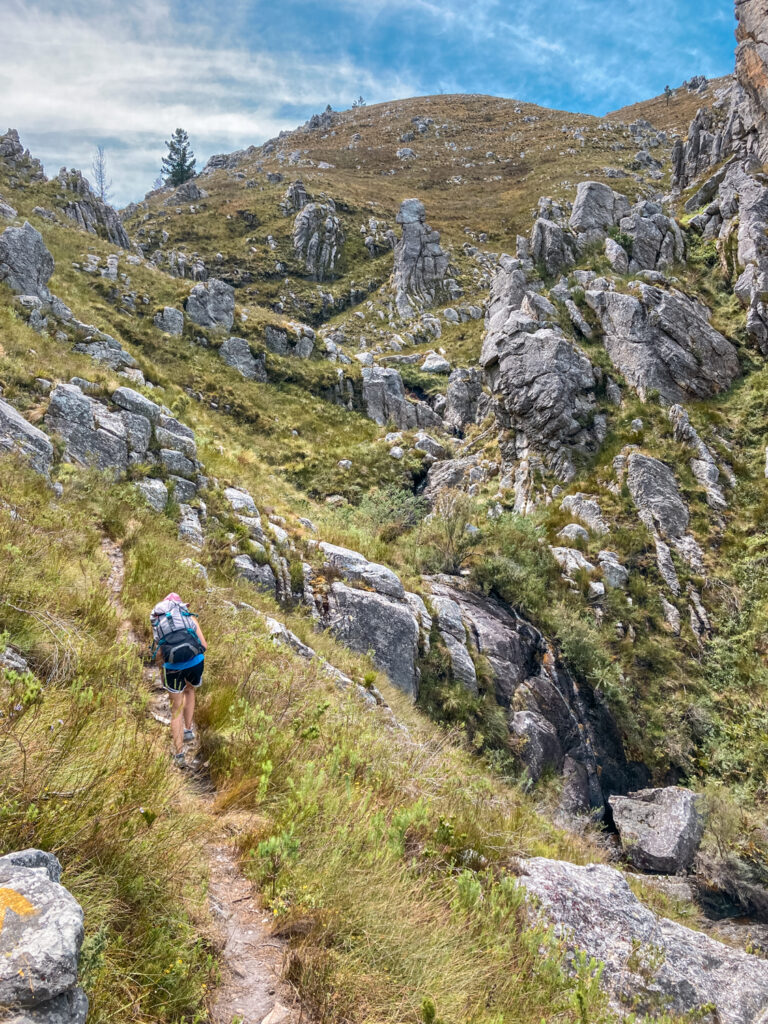
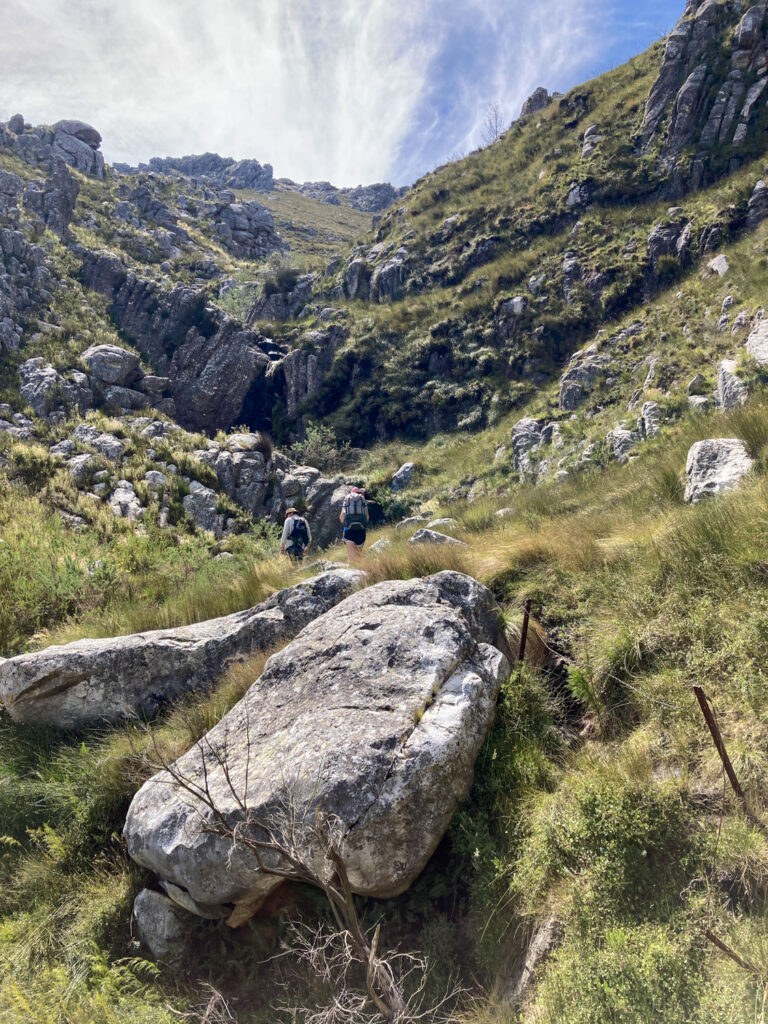
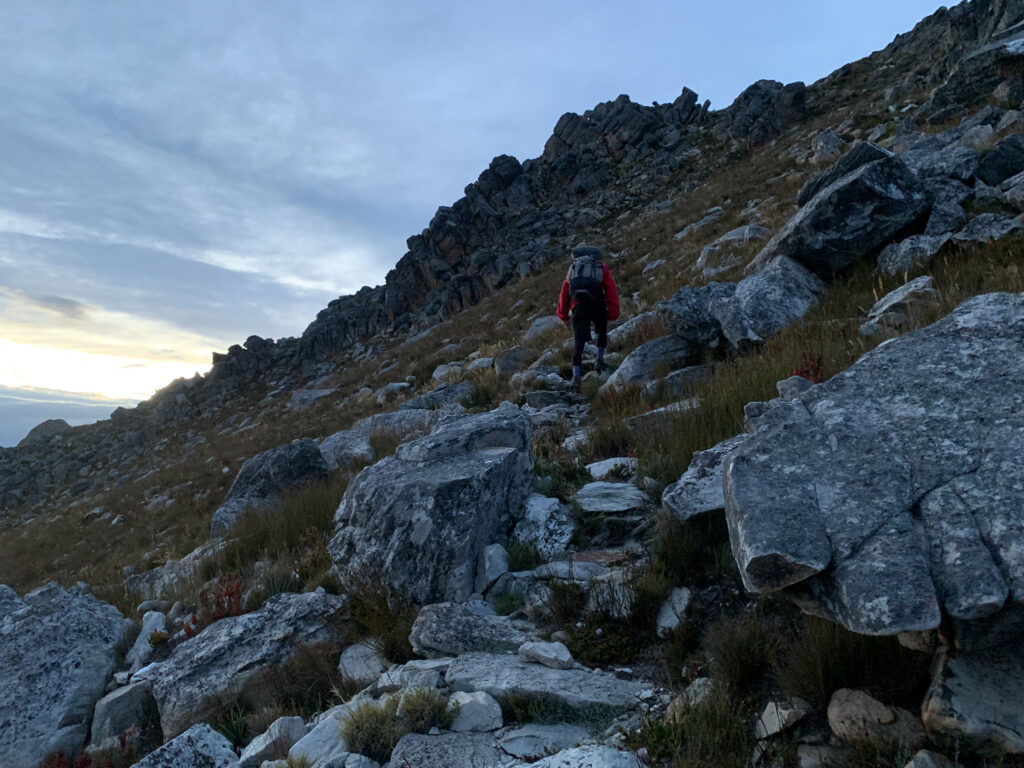
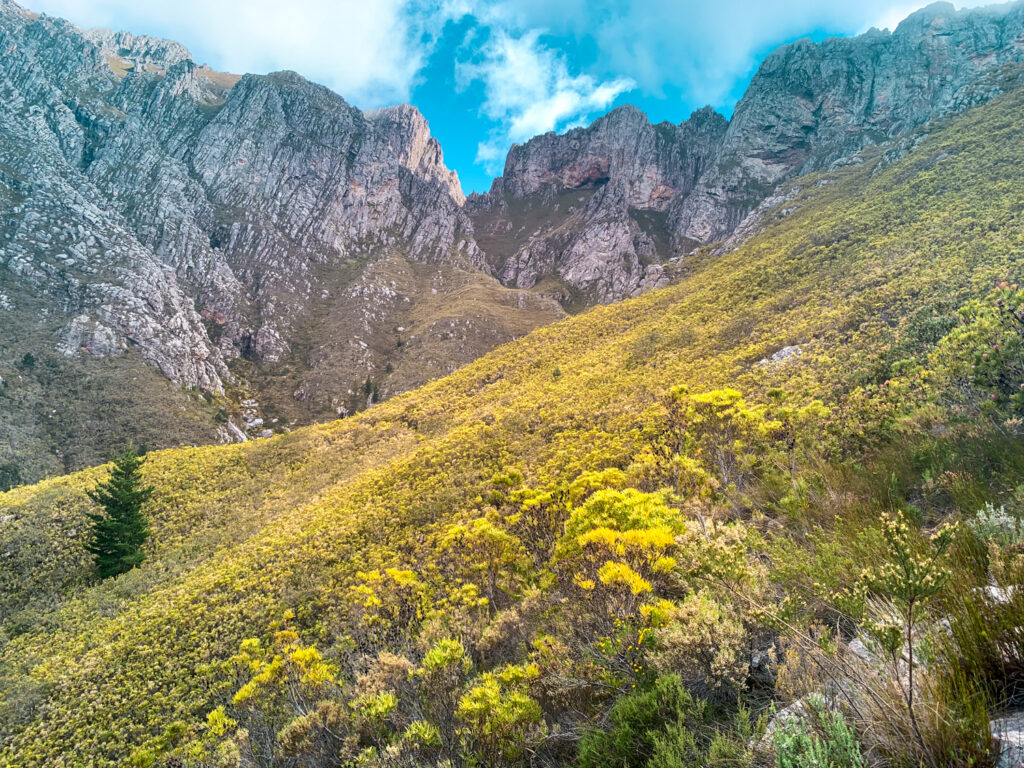
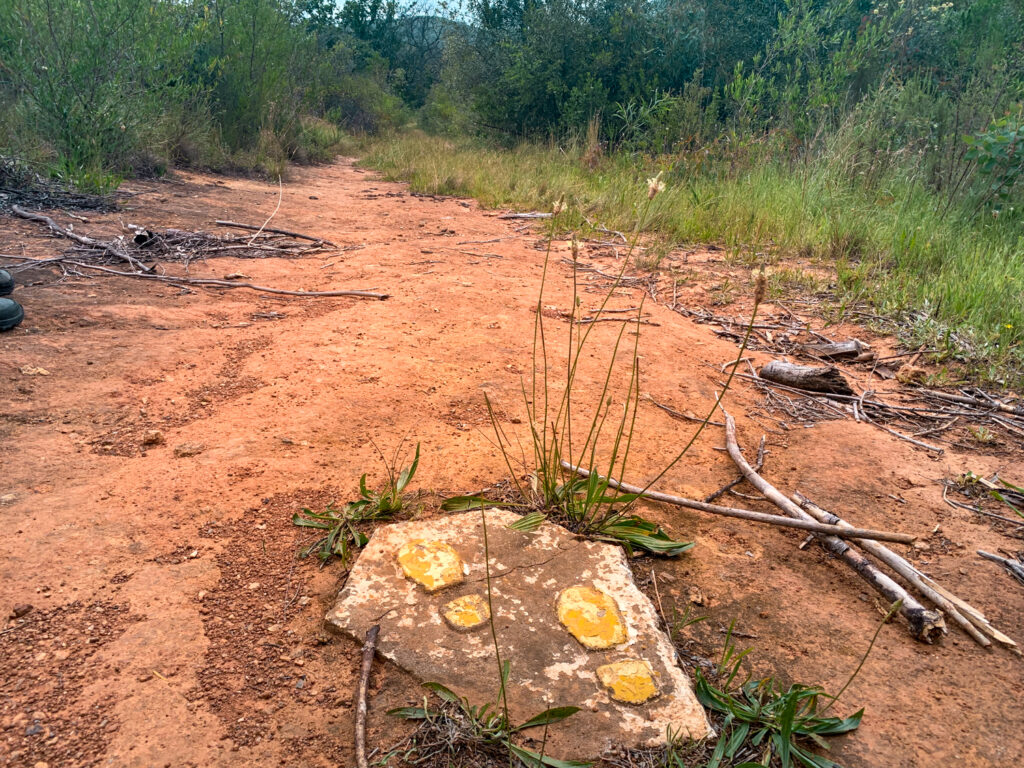
After arriving at Dassieshoek Cottage 1, you’ll walk down the dirt road with the Dassieshoek Dam to your left until you reach the gate with a “Langeberg Municipality” sign. Climb over the ladder and head down the dirt road/jeep track. Follow the yellow foot prints to the left over a stream. You’re on your way up to the Arangieskop hut now. The climb goes steadily uphill (400m gained) for about 3km, before you drop down into a gully with a chain and a ladder. You’ll come to a pool of water (there are a few actually before the trail leaves the gully again). This isn’t a bad place to stop and recover for a bit. The rest of the hike is going to be a very strong ascent upwards following switchbacks with little shade. From the gully, you’ll hike up stairs shaped into the dirt and then you’ll wind your way up the mountain before you come to another rock pool where you can freshen up. We had lunch at this point before we pushed through the last ascent to the hut.
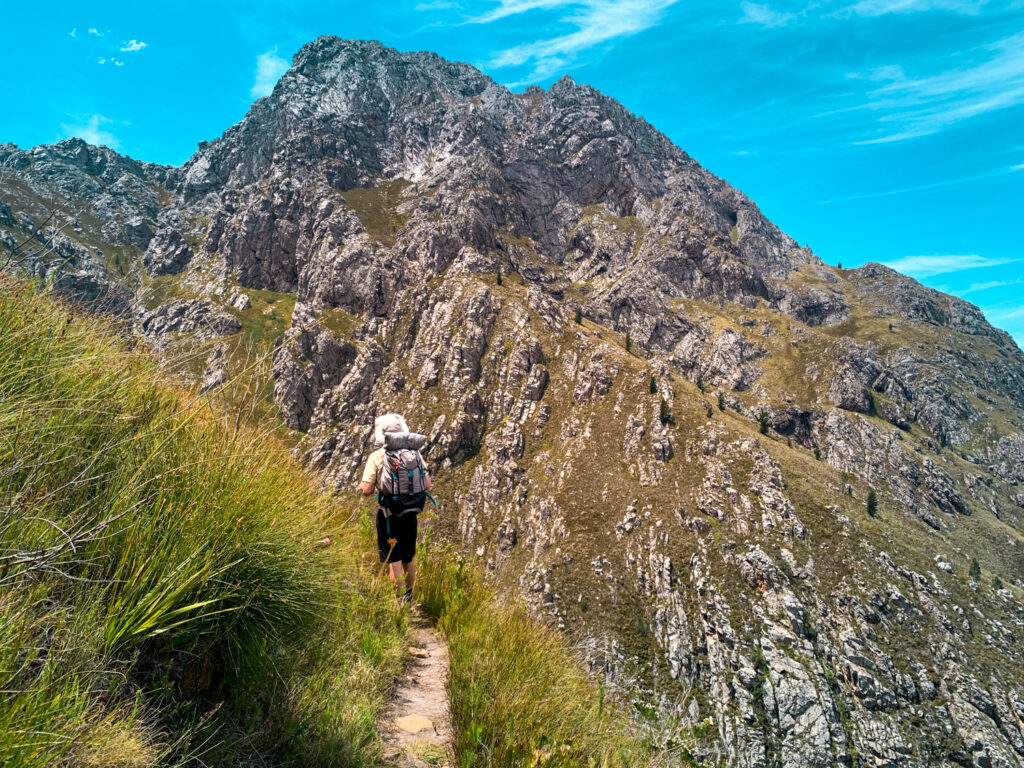
The last 2km are brutal – it goes quite steeply uphill (200m) before you finally reach the jeep track towards the hut. Just take it easy, drink some water, eat some sugar, and you’ll get there.
Overall, the first day is tough mainly because of the relentless elevation you gain. But it does happen over a long stretch so it won’t feel like you’re climbing stairs the whole way up the mountain. Personally, I didn’t find any section of the hike to be too exposed to heights (and I get scared quite easily). If you’re hiking on a sunny day, the hike is completely exposed so you’ll also be dripping in sweat which tends to slow things down a bit.
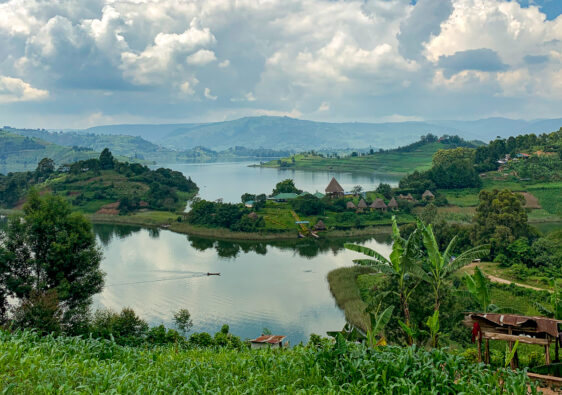
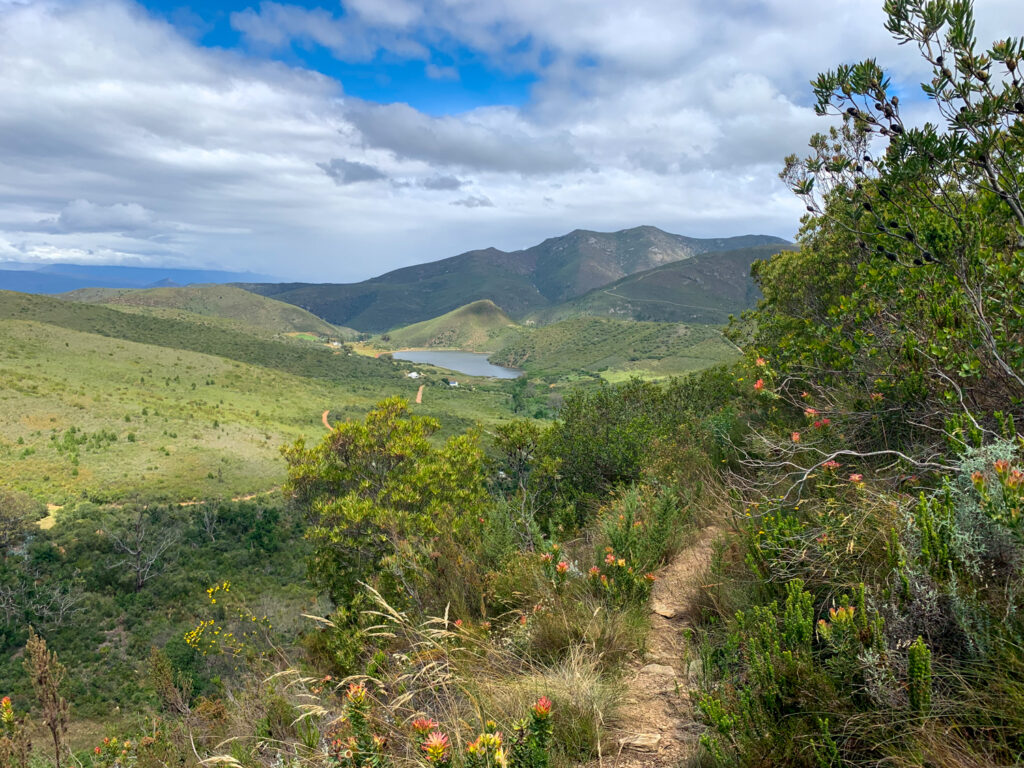
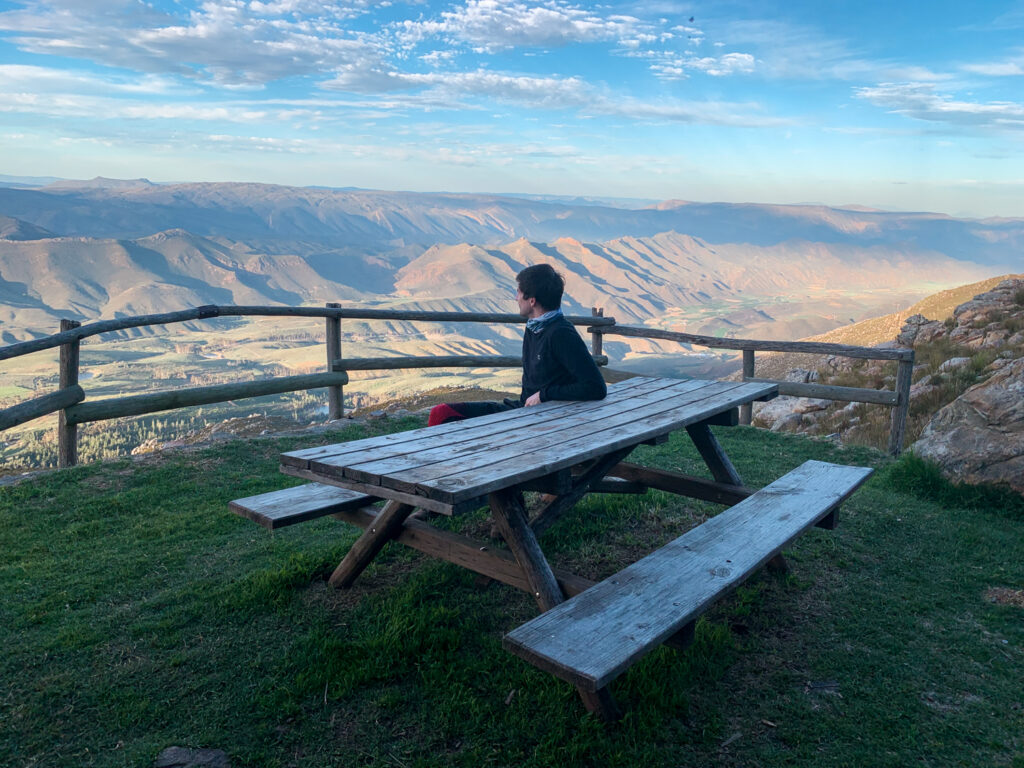
It’s worth getting to the hut in the afternoon – it’s got a braai area and picnic bench overlooking the beautiful Koo Valley below. We drove straight from Cape Town, and set off at about 8:30am and reached the hut at about 15:00, giving us several daylight hours to rest our legs and enjoy the view.
Fun Stats of Day 1: Up to Arangieskop Overnight Hut
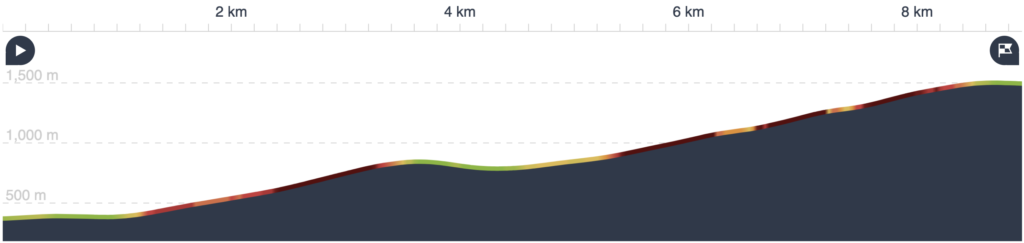
- Total distance: 9 km
- Elevation gain: 1200 m
- Elevation loss: 70 m
- Expected hiking time (assuming good fitness, no breaks): 3:20 hrs
Day 2: Summit at Sunrise and down to Robertson by Noon
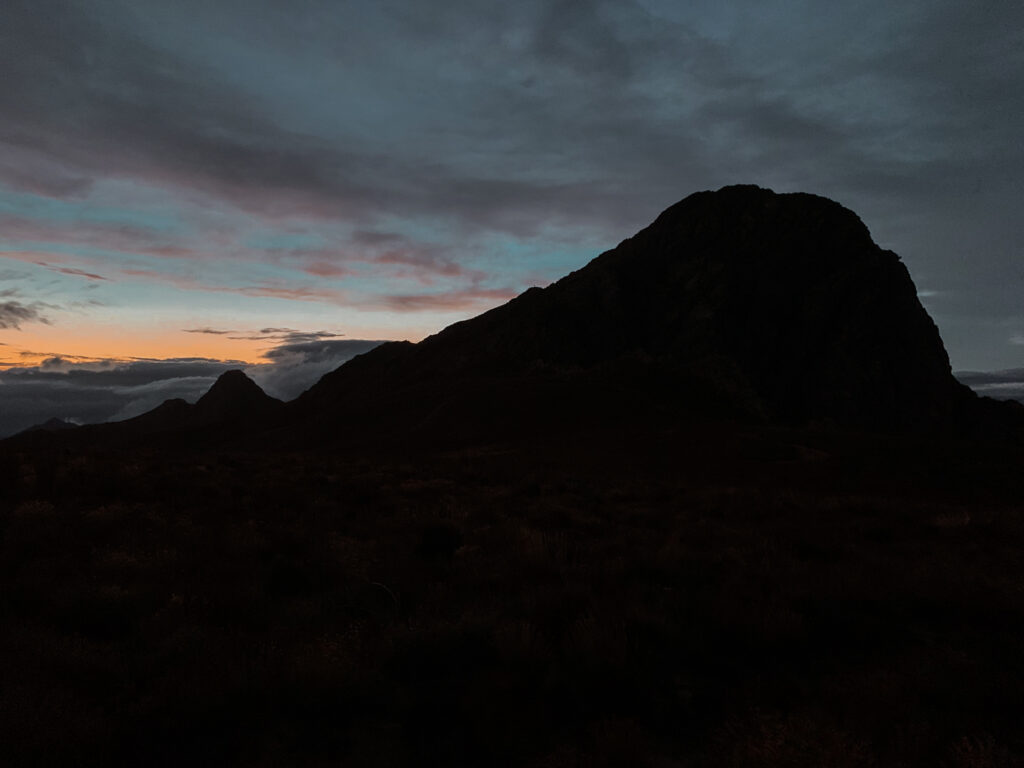
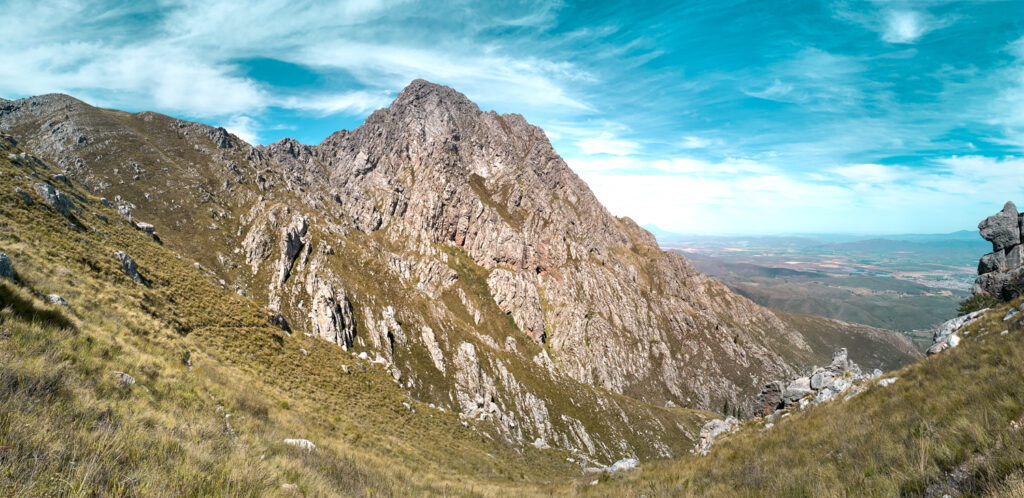
Most people will start off Day 2 early to hike the last 200m up to the summit of Arangieskop to see the sunrise. For us in November, this meant getting up at 4:30am for a 5:10am start and a 5:39am sunrise. It took us a little less than 30 minutes to reach the summit. You’ll probably notice the air feels thinner. The path up was one of the rockiest of the hike, but since it was dawn we could see the path fine without headlamps. It’s definitely worth getting an early start to see the sunrise. In our case, low-hanging clouds blocked the sunrise, but the lighting was fantastic nonetheless. We had planned to have coffee and breakfast up here, but the wind was a bit hectic so we didn’t linger too long.
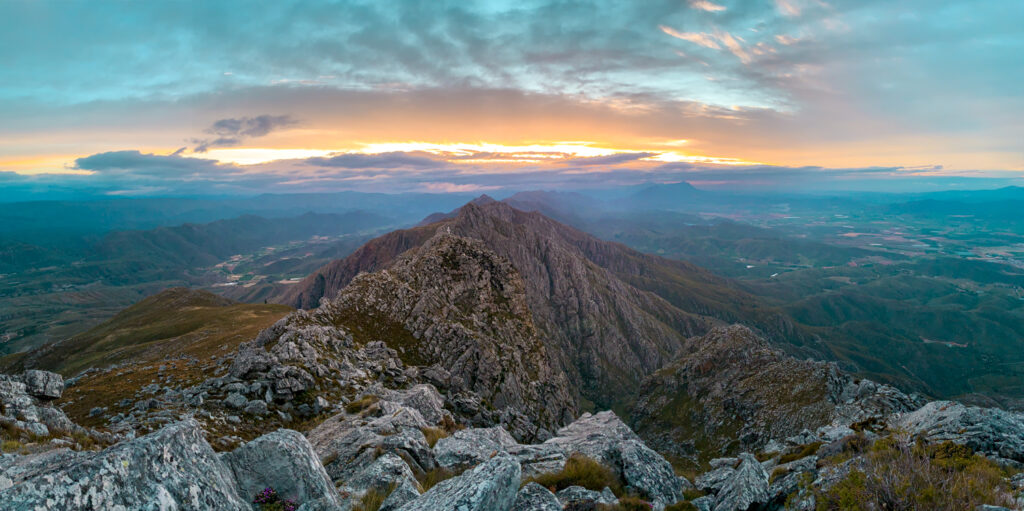
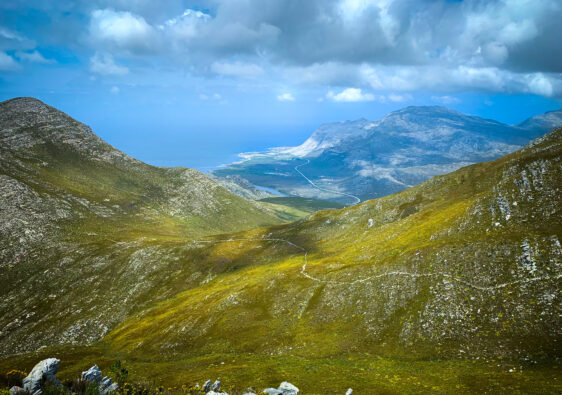
From the Arangieskop summit, the path goes down the side of the mountain facing Robertson. The first 2km are quite steep and follow switchbacks. Some of the rocks up here are damp and slippery, but just take it slowly. And don’t forget to pause to enjoy the views – they are absolutely incredible. You’ll see some trees down below in a ravine – those are where the first water source is and also where the steep descent ends. We paused by a rock pool just a bit down in this forest area for breakfast and a leg break. This was our only break for the day – rain clouds were gathering and we weren’t so keen on sticking around for the shower.
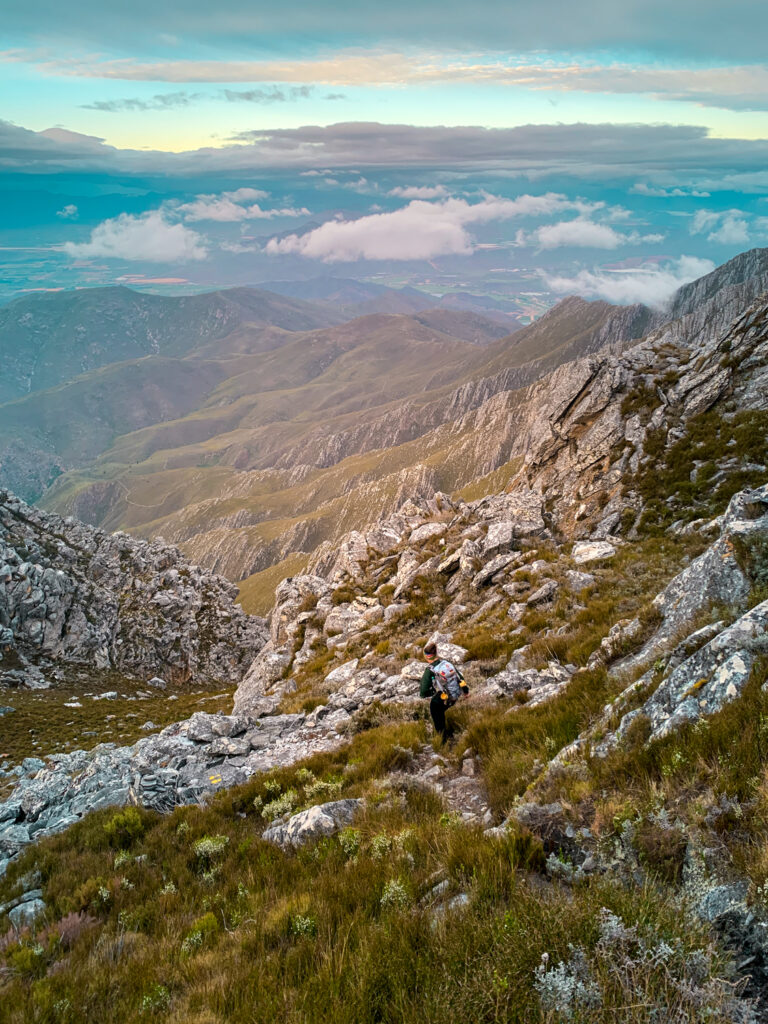
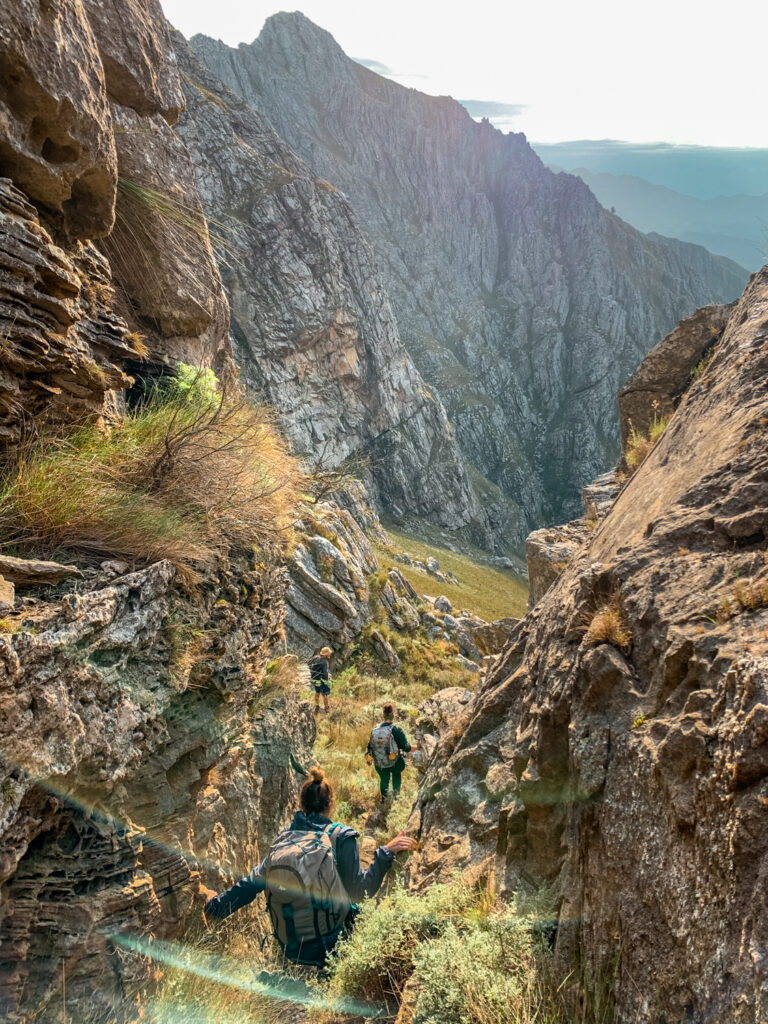
From this ravine section you will eventually boulder hop along the trail before it winds to the left into a rocky ravine. You will climb upward to some chains, follow these up more, and then follow a zig zag path up the hill before you get to a contour path at about 4km into your hike. This goes up and down a bit and curves into yet another gully before you descend a few metres to your second water source of the day. Fill up here before you hike the last 6km back to the start of the hike. From this point, you’ll head steeply up the side of ravine on a series of switchbacks before you end up in a thick protea forest. This part of the hike felt endless – your destination is in sight forever while you meander around the most roundabout paths towards it.
You’ll descend through this forest for a while before you follow the path along two little hills back down to the jeep track. From here, turn right to descend along the jeep track back to the cottages, veering left to cross over a small stream. Don’t forget to look back over your shoulder – it’s crazy to see how far you’ve come in the past two days.
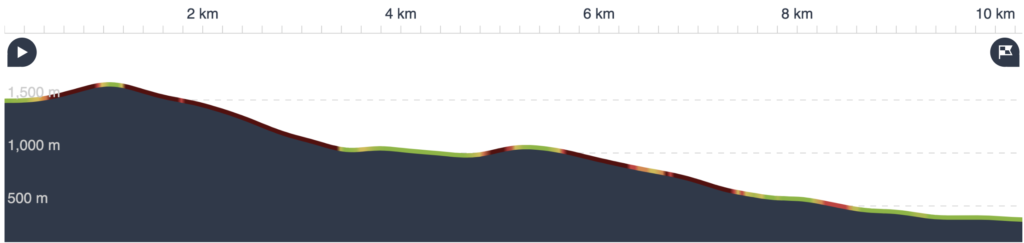
Fun Stats of Day 2: Down to Robertson
- Total distance: 10.3 km
- Elevation gain: 250 m
- Elevation loss: 1370 m
- Expected hiking time (assuming good fitness, no breaks): 4:20 hrs
Getting Started
Permits for the hike are 72 ZAR per adult, and for the Arangieskop hut 195 ZAR per adult. During the COVID-19 pandemic, they are only allowing one group to book permits per day with up to 10 people per group. So the good news is, you’ve got the whole Arangieskop hut and mountain to yourself! The bad news is that Saturday to Sunday hikes are booked out about a year in advance. You can book these permits with the Langeberg Municipality at 023 626 8200 (do not bother emailing them – they will never reply). Make sure you receive the permits as they contain the access codes to the huts (though we found the Arangieskop hut unlocked).
You can book the Dassieshoek hut or a place in Robertson the night before setting out if you want to get an early start or avoid an early drive. We opted to drive the 2 hours from Cape Town on the morning of the hike.
The hike officially starts at the far end of the Dassieshoek Dam by the crumbling cottage (S33° 45.244′ E19° 53.035′). But we parked our cars inside the gate at Dassieshoek Cottage 1 (S33° 45.376′ E19° 52.709′). If you do this, just don’t leave anything visible inside your car.
The hike is well marked – just follow the yellow arrows and footprints. However to keep an eye on where you’re going and the elevation changes, print out a copy of the trail map. Otherwise, follow the route on Maps.me. As of November 2021, the trail was well-maintained without much plant overgrowth.
Water Refill Points
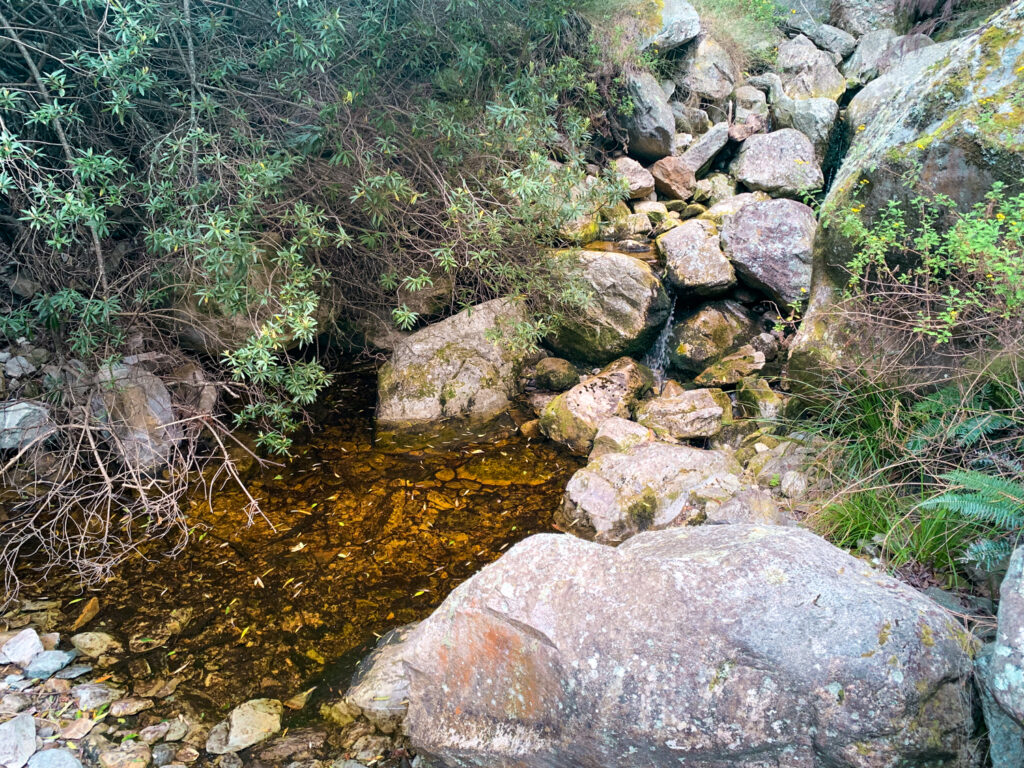
Along the way, you can refill on water at various points, so one filled one-litre water bottle will suffice. On Day 1, there are two water refill points before you get to the hut: at 5km in and again at the 8km mark. You can also take a dip in small pools of water by both of these points. On Day 2, there are two decent water refill points and one as an emergency: at 3km and at 5km from the hut. There is another water point at about 9km down from the hut, but I wouldn’t trust it since it looks like people have been relieving themselves just upstream. Luckily you’re quite close to the hike start at this point.
The water is quite clean and safe to drink, but we did bring along a small bottle water filter to filter out the sediment.
We tended to pace ourselves by taking breaks only at the water refill/swim points.
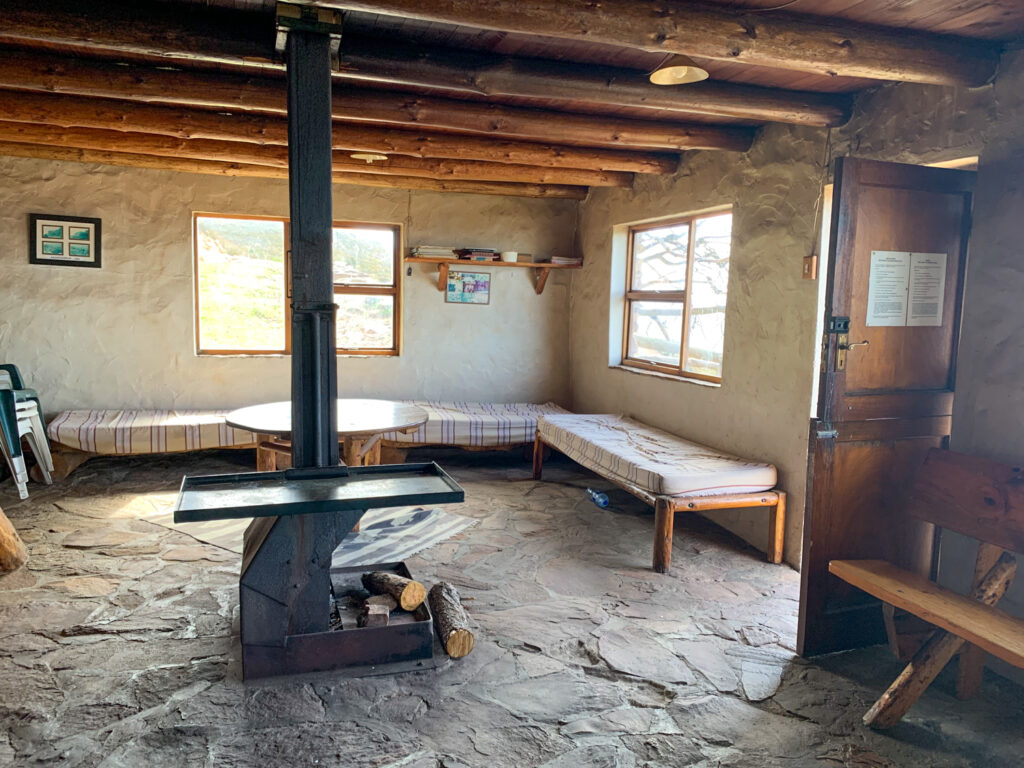
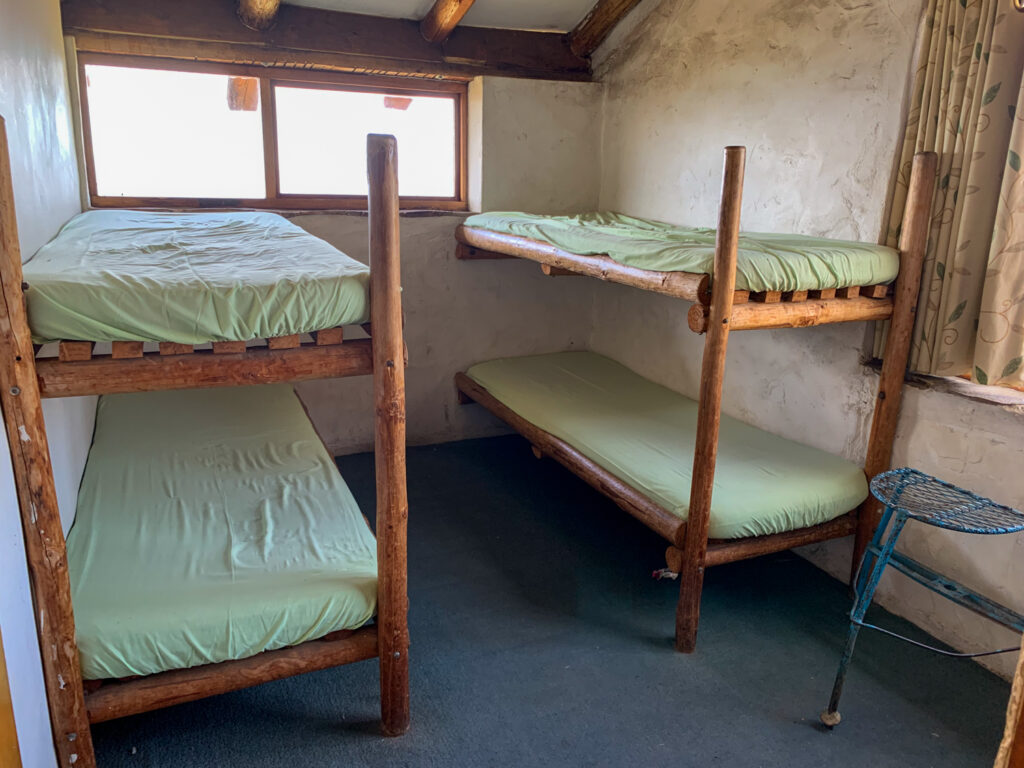
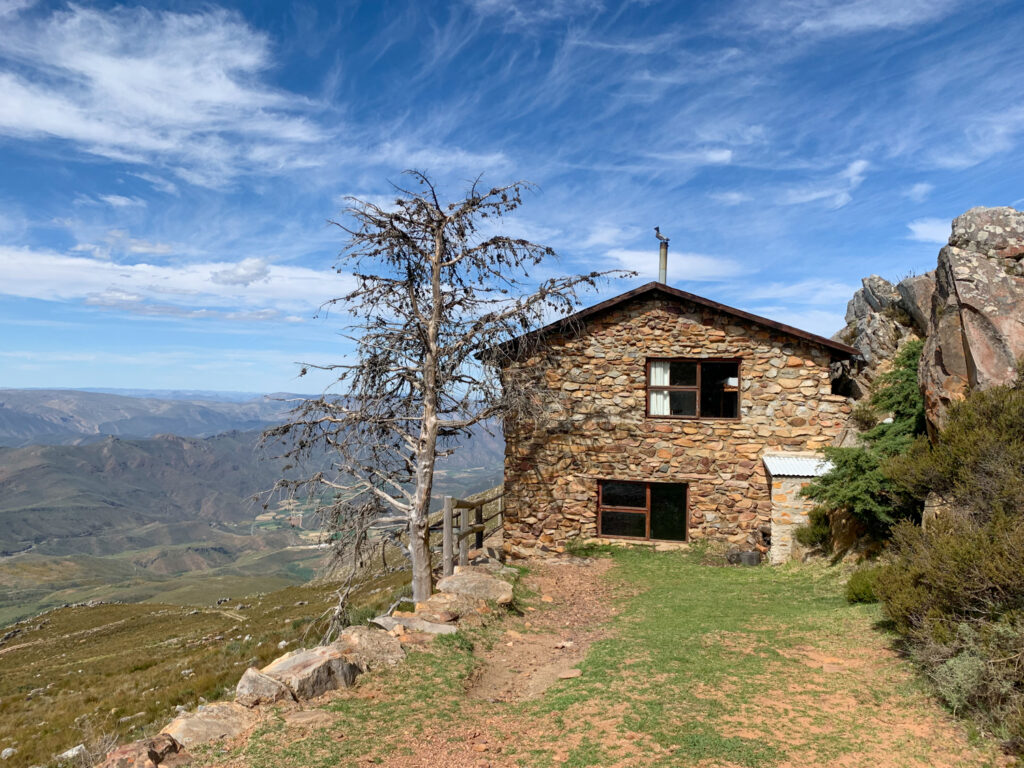
Arangieskop Hut
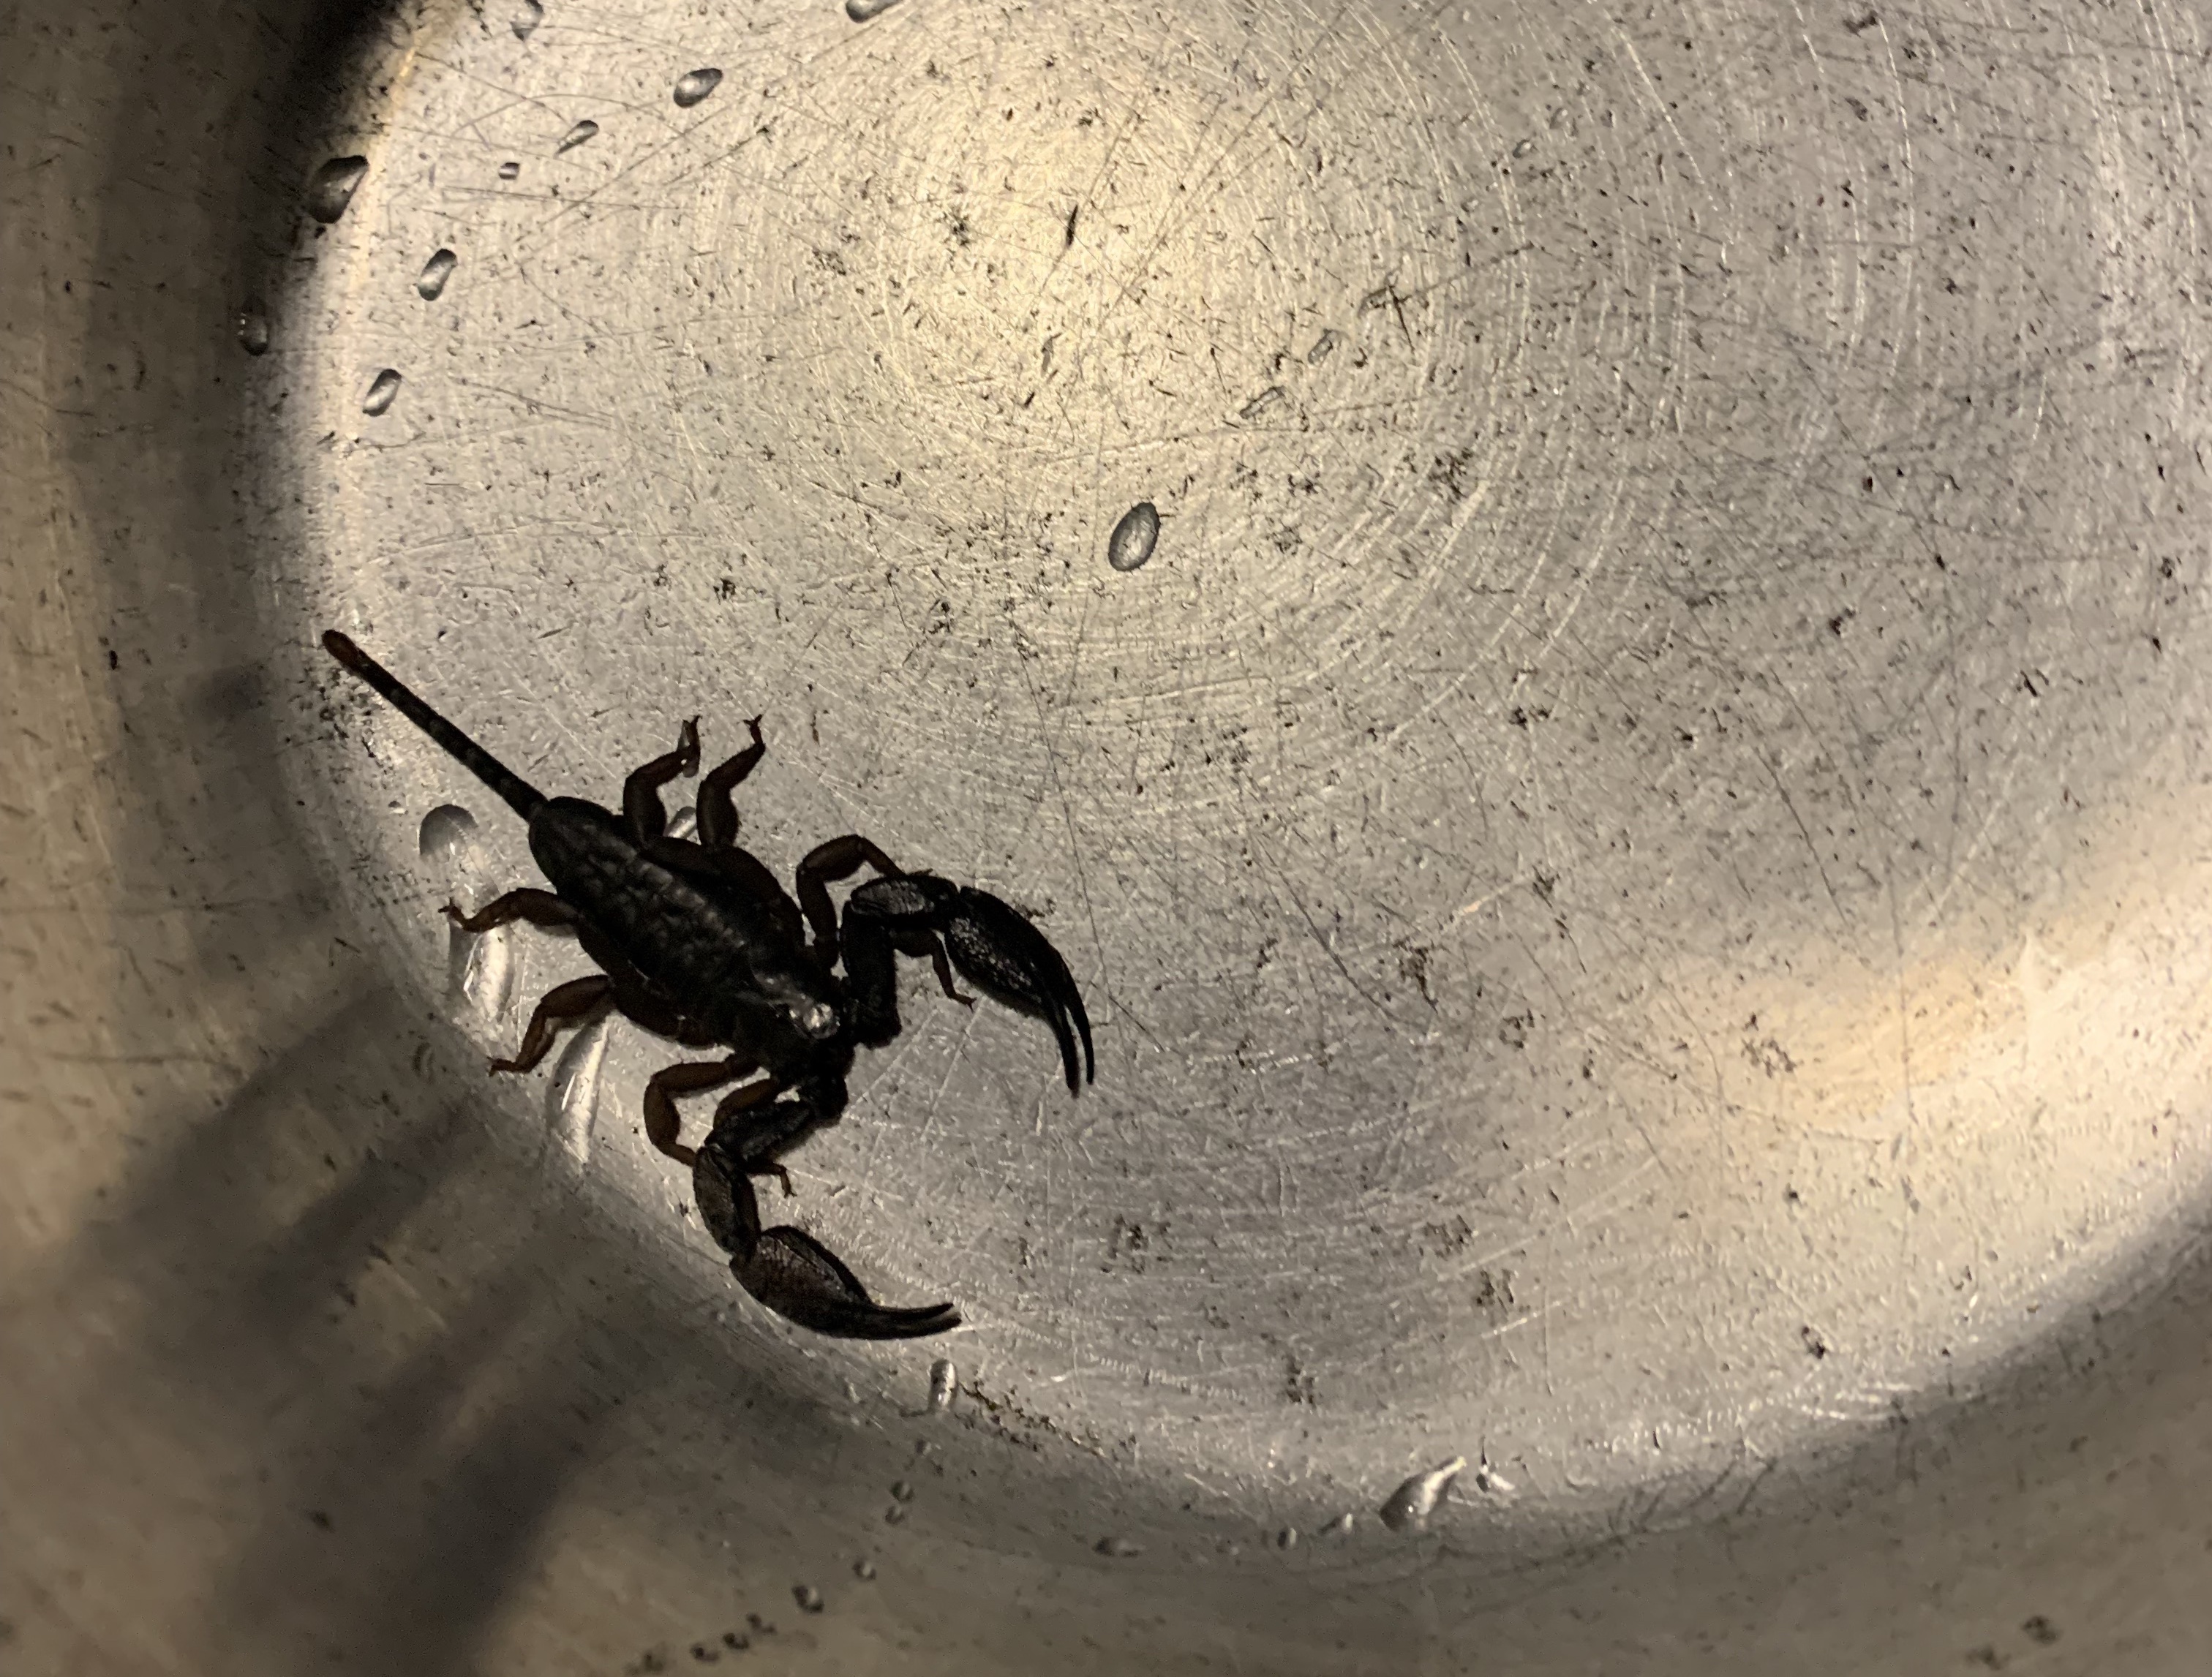
The Arangieskop hut has bed space for 23 people. Most of the beds (15) have single mattresses (if you’re taller than 1.8m your feet will hang off). Four of the beds are meant for double occupancy. Personally, I found these double beds a bit scary because they were right next to the natural stone wall that looked a bit damp and home to critters. The rooms upstairs were warmer than downstairs and had less critters running about. The next morning, downstairs we found a field mouse running around and our friend had the unfortunate realisation that he likely shared his sleeping bag with a scorpion that night.
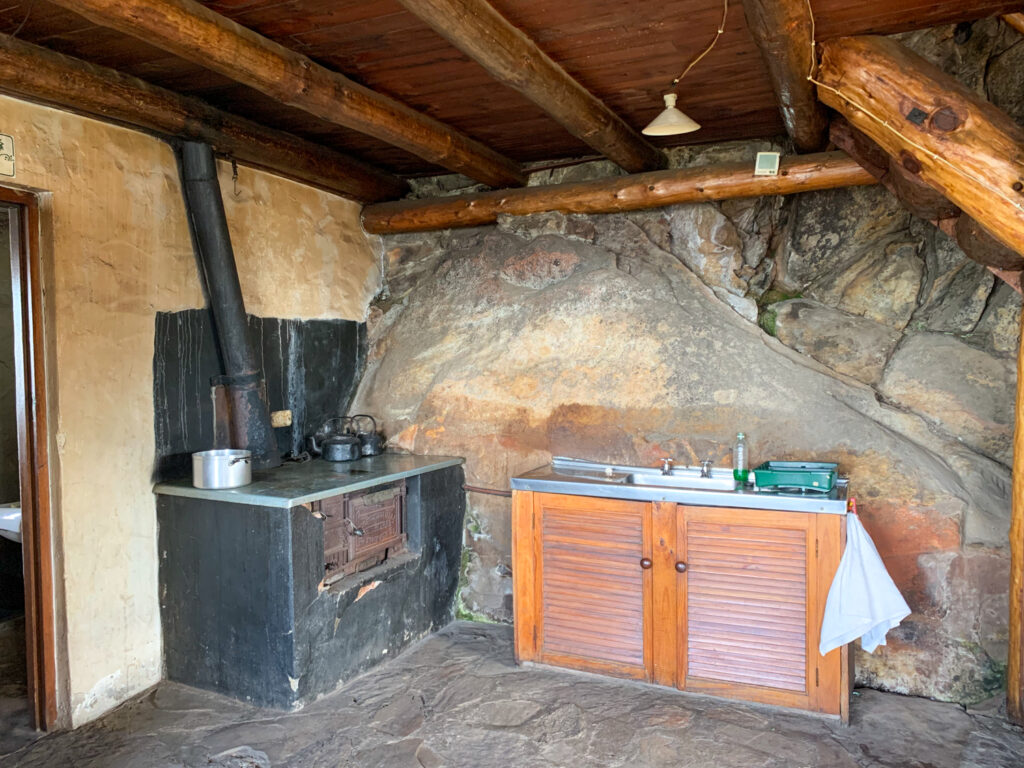
The Arangieskop hut has a few basic items, like pots and a kettle. There’s a braai grid, which has seen better days, but is still usable. You will need to bring your own plates, mugs and cutlery. We brought along two plastic camping plates and a camping fork/spoon and knife. The toilets have toilet paper, but you might want to bring some of your own, just in case.
For sleeping, the Arangieskop hut does have mattresses on the raised beds, but you’ll need to bring your own sleeping bags and pillows (alternatively you can use your bag as a pillow).
There is electricity at the hut for lights, but you might want a headlamp in case. While you can burn wood to heat up the donkey boiler, just note that because the cold water taps aren’t working, once you start heating up the water the only temperature the water will come out from the taps is warm/hot. It’ll take about 1.5 hours to heat up the water for a hot shower. There are also flush toilets in the hut, but you’ll need to refill the tanks with water using a pot. The toilet’s plumbing in the room with the shower is leaking, so rather avoid using that toilet so that you can rinse in that shower without sewage. Rather use the toilet to the right.
Packing Essentials
You’ll have to carry all the food you need for two days. We ate breakfast before setting off, and got back down the mountain for lunch. So per person for Day 1 we brought: 1.5 bagel sandwich for lunch, 2 smoked sausages + 1 soft pretzel + some brie cheese for dinner, biltong for snacking, and marshmallows for dessert. Since it was Halloween, there may have been some Smarties involved as well. For Day 2 we brought: 1 breakfast bagel (peanut butter + banana) and some candies for snacking. We also had a granola bar each but brought it along more for emergency’s sake. There is a braai area at the hut and plenty of wood, but I would not bring raw meat up if it’s a hot day – it’ll go green before dinner.
If you choose to hike to the summit for sunrise, it might be quite cold. When we went on 1 November, it was 10°C in the morning and very windy. Warm clothes like thermal pants, fleece sweaters, down vests, and a rain jacket will go a long way. We only layered down closer to midday when we were at about 800m above sea level.