La Réunion is known as the “intense island” – a place for adventure lovers. For hikers, the scenic mountainous interior lined with hundreds of trails is absolute paradise. Hiking is by far the best way to get close to the dramatic ravines and massive peaks, but also to soak up the essence of the island and have time to take in all the details (like the rich diversity of plants).
We initially planned to only spend a week in Reunion, but we extended it by a week so we could spend more time experiencing the island on foot.
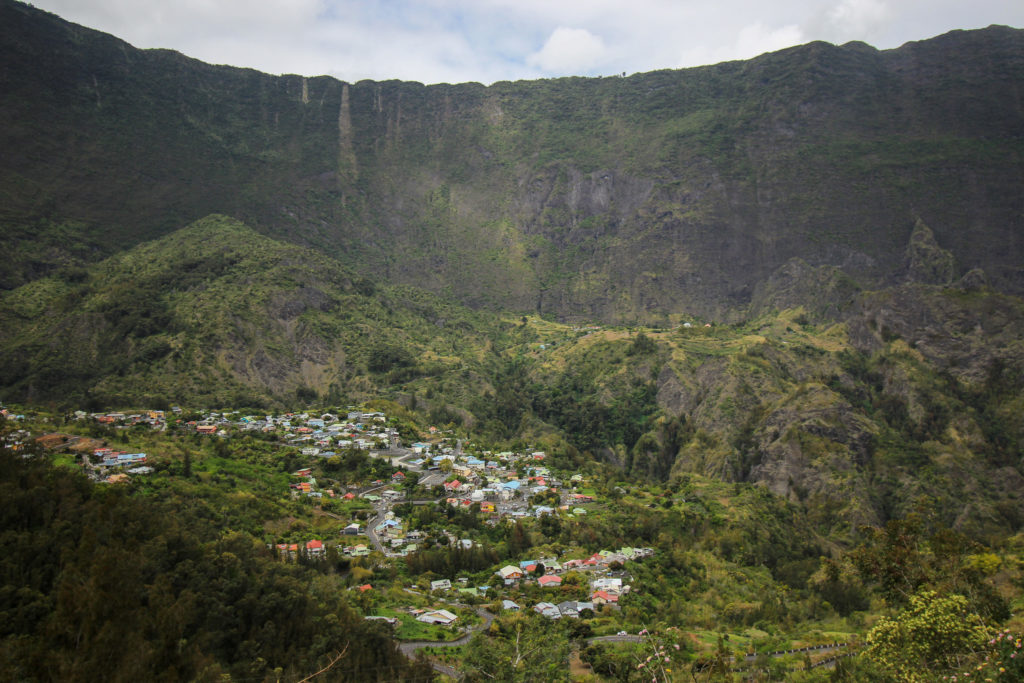
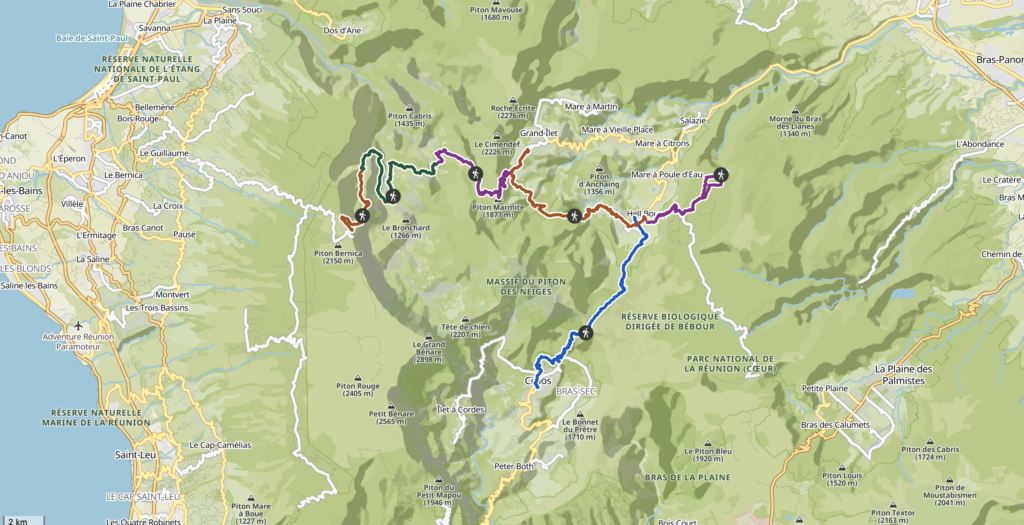
We wanted to get a flavour of all three cirques so we designed this route to be done over 5 days (or 6 if you want to hike up to Trou de Fer). The trails follow a lot of the GRR2 and GRR3, though with some deviations.
We started in Cilaos and ended in Mafate exiting at the Maïdo viewpoint.
If you don’t want to hike so long, the prettiest section was in Mafate. It had very dramatic views and was extremely interesting to walk through given that it is completely inaccessible by car. You can only get here on foot or by helicopter. So the way of life has developed differently. At the end of this post, I’ve created some suggestions for variations for shorter hikes.
Trail Maps
You can access the trail maps for the route we did via Komoot. The trail is pretty well-signaged, but I wouldn’t go without a map of some sort especially if your plans get disrupted by poor weather.
Itinerary
If you want to hike from Cilaos to Maido across 5 or 6 days, you can follow the below itinerary we did. The day-by-day descriptions are broken down with alternative routes where available.

Day 1: Cilaos to Hell-Bourg
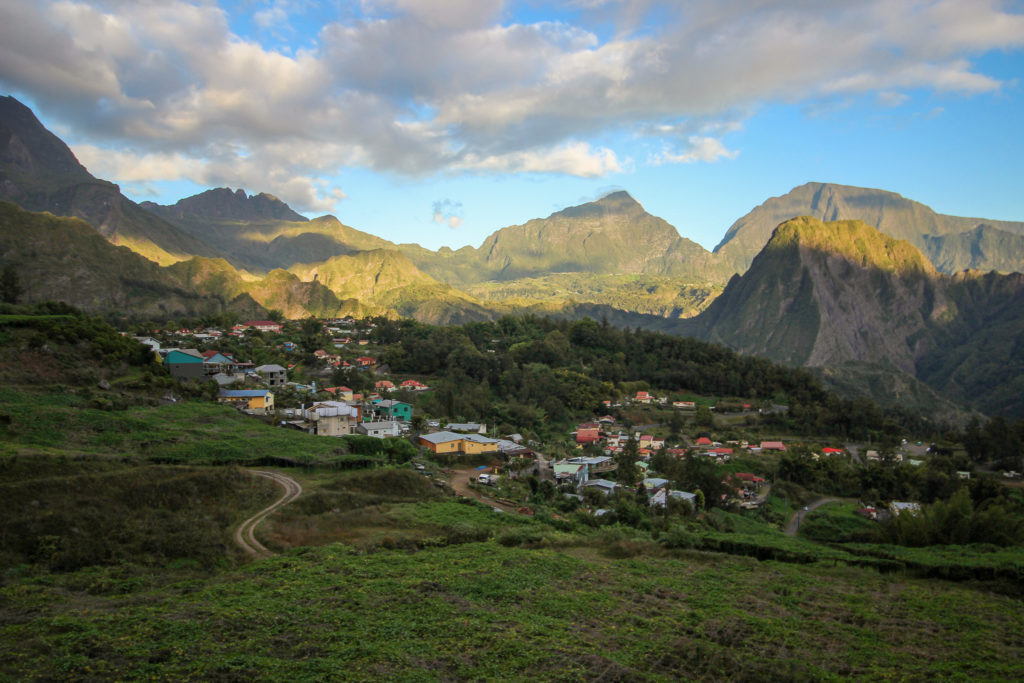
Many opt not to hike this full route to Hell-Bourg in a single day, but instead break at the base of Piton des Neiges – the highest point of Reunion island (and also the highest mountain in the Indian Ocean). They overnight at the hut and ascend 570m up the peak for sunrise before heading back down (usually back to Cilaos).
Though tempting to hike to the peak, we opted against this early on in our planning because the overnight accommodation looked absolutely foul and overpriced for what it was. We also noticed a lot of photos from the peak were obscured in clouds so we weren’t very convinced the potentially disappointing overnight stay in a crowded refuge was worth it.
The hike can either start off in the town from your accommodation, or you can take the minibus taxi to the hike start to shave off an hour. Having done the full thing, I’d recommend you take the bus. The first hour wasn’t a must see and also you really will want that hour back for breaks along the way.
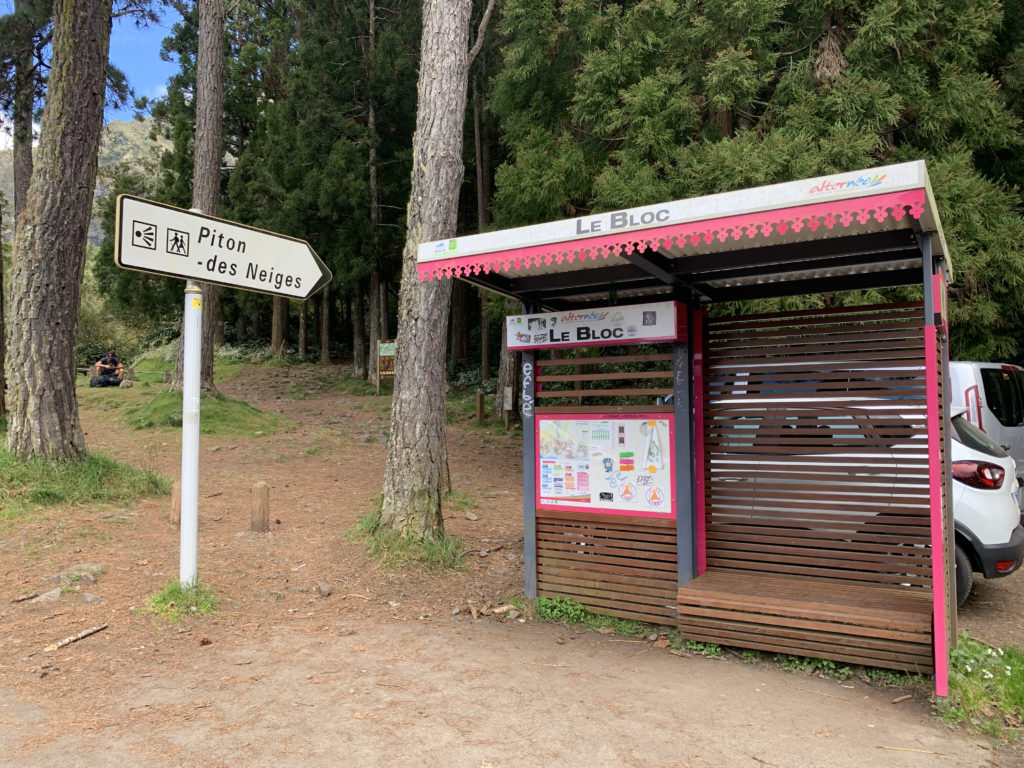
The bus stop is at the official start to Piton des Neiges – a small parking lot at “Sentier le Bloc”. From here the hike goes steep, relentlessly up for over 1000m. The path is quite well maintained – like a series of stairs.
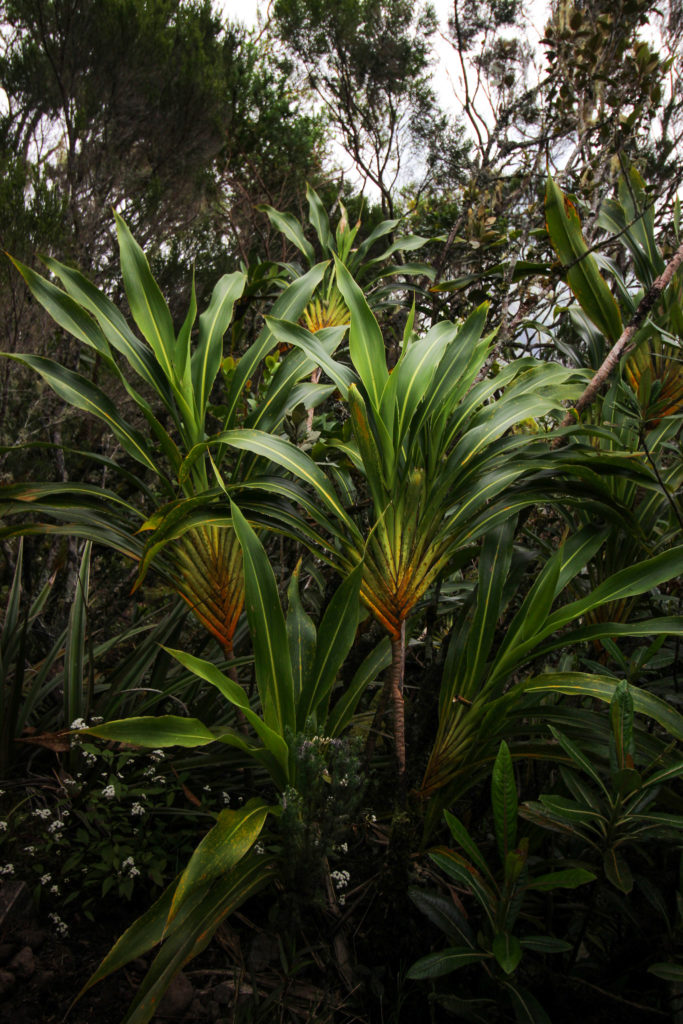
From the high point on the ridge overlooking the cirque and Cilaos, you should be able to see Gîte Caverne Dufour – the basic hut for hikers looking to ascend Piton des Neiges.
When we got here by noon, it was very cloudy and cold so we quickly kept going. The path becomes quite rocky and slippery so you have to concentrate hard to place your feet safely.
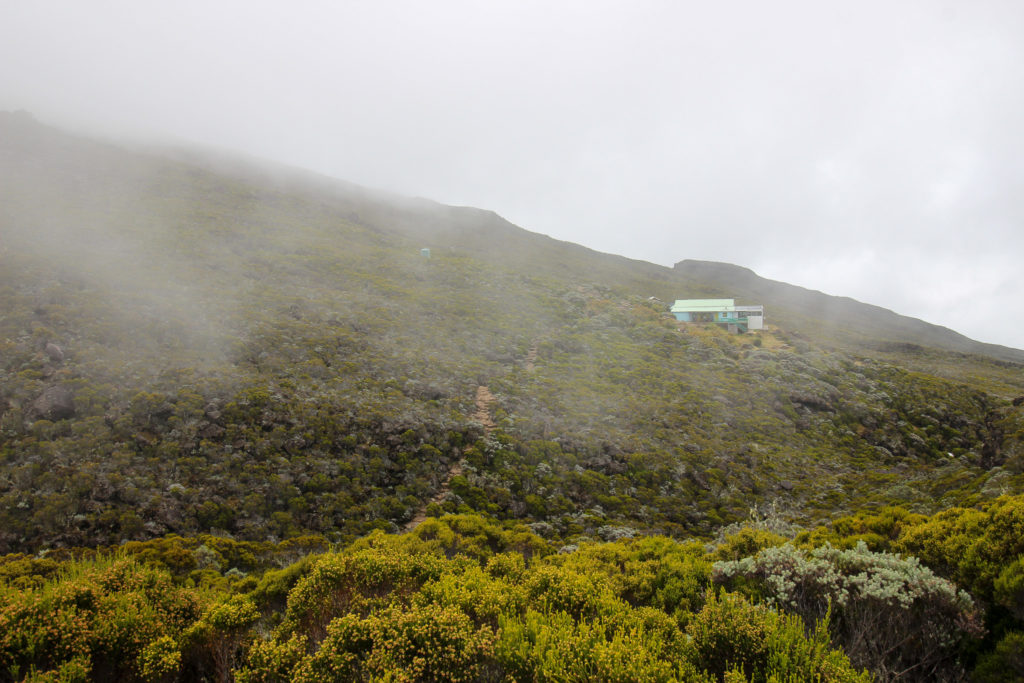
While this section is relatively flat, it is very slow going due to the terrain.
From here you will reach a sign pointing in two directions giving you two options to descend into Hell-Bourg. You can immediately descend left and hike another three hours to Hell-Bourg. Or continue straight towards Gîte de Bélouve and then walk down from there. That way is 3km longer and takes about four hours.
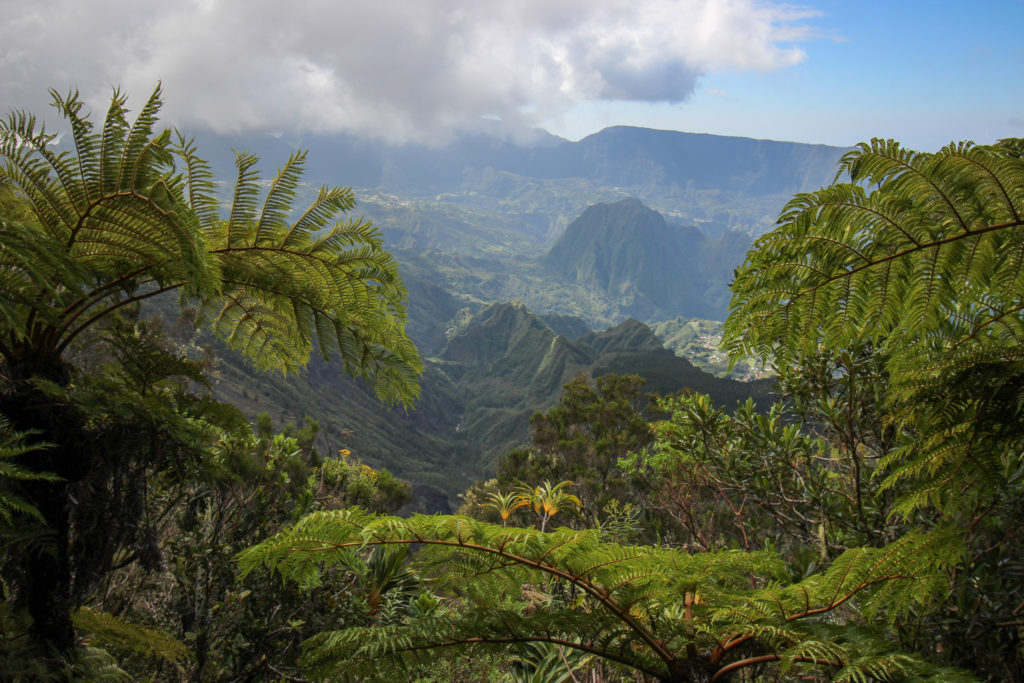
We took the three hour route. It was extremely steep, very slippery and completely destroyed our knees. That said, the plant life was incredible. We opted for this route because we were running short on time and since we knew we’d be hiking a bunch of the alternative route the next day to head up to Trou Fer.
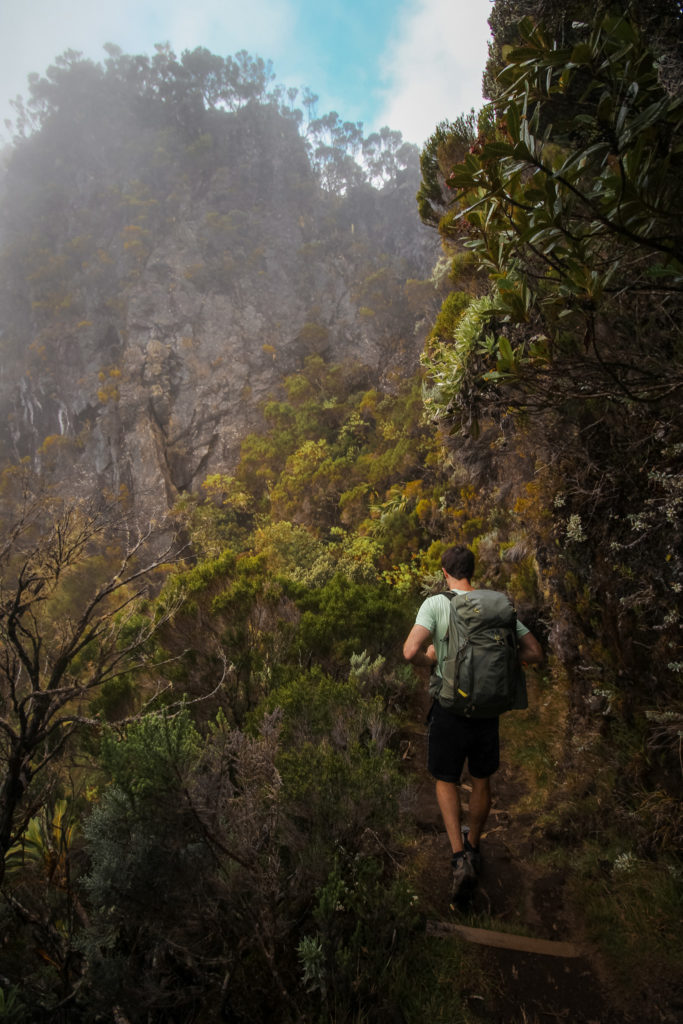
The route descends very steeply for the first 500m of elevation loss and you’ll likely be in a cloud. But at about an hour and a half in, the trail begins flattening our before it enters a thick, tall wood where gnarled tree roots criss cross over the path.
From here, a final 300m descent (which is much easier than the previous one) takes you quickly into the western edge of Hell-Bourg.
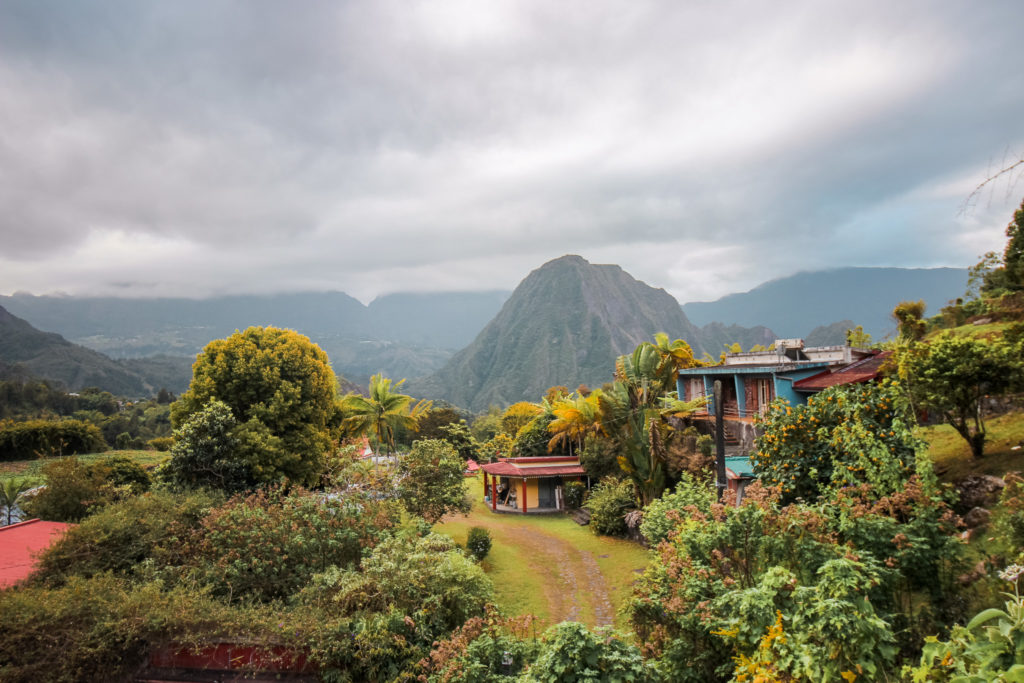
In hindsight, given how incredibly difficult that descent was, we would have gone for the four hour route via Gîte de Bélouve.
Note: There’s only one water refill point along the way, which is on the hike up from Cilaos to Gîte Caverne Dufour. Drink a lot before you refill and then fill up. Especially if you only have a one litre bottle with you.
Optional Day Hike in Hell-Bourg: Hell-Bourg to Trou de Fer
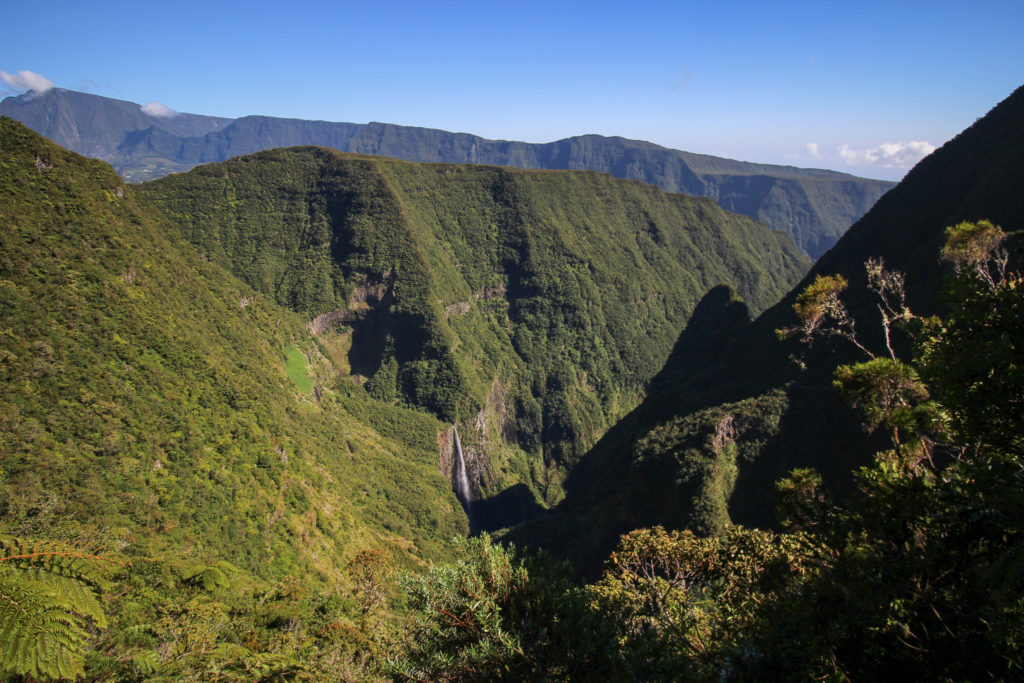
If you’re spending two nights in between the hike at Hell-Bourg, you can take a half day to visit one of the island’s most famous waterfalls – Trou de Fer. This is the highest waterfall in France, apparently.
It’s recommended to be there before 10am to maximise your chances of seeing the falls before the clouds roll in and obscure the view. In the morning, the light also hits the falls. In the afternoon, the falls will be in the shade.
You can access the hike by following the main road in Hell-Bourg east until you get to a garden plaza on your right. A sign will point to “Piton des Neiges” and Gîte de Bélouve. You’ll follow the road on the right up to the mountainside. The path quickly enters the forest and follows a series of switchbacks (zigzags) until you climb 500m to the top. While always uphill, the path is never super steep and the ground conditions are easy for walking. We started at around 6:30am and made it to the top by 8:00am (with photo breaks, but otherwise at a brisk pace).
At the Gîte de Bélouve there’s an opportunity to refill your water bottle. There’s also a great view of the Cirque de Salazie.
From the lookout point, it’s another 1 to 1.5 hours to the waterfall, Trou de Fer. The path is relatively flat though there are some minor ups and downs. However, it’s not in great condition. A lot of the stones are slippery, the wooden planks broken, and otherwise a lot of muddy sections throughout that slow you down considerably.
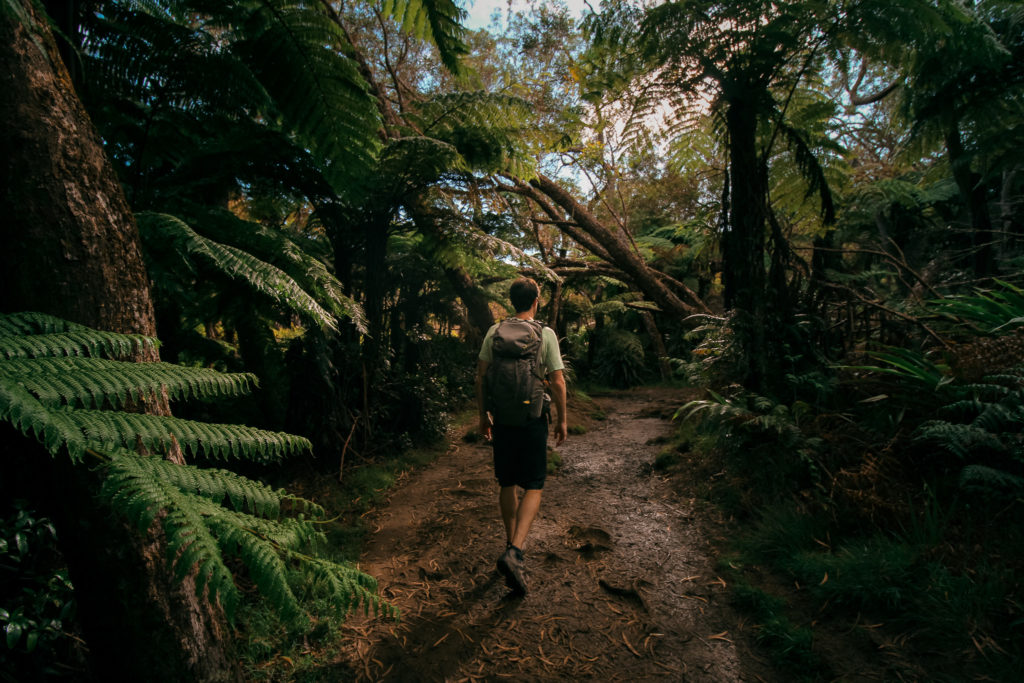
The first section goes through pretty forests. The second follows a wide open carriageway that is easy to walk on. The third part is absolutely horrendous. You’ll come to a sign while walking on the wide path that is written exclusively in French. It’s not at all clear what it is trying to indicate to a non-French speaker. But evidently, it says path closed ahead. So you’re supposed to take the little one that goes into the woods to your left.
We messed up and took the closed path to get to the waterfall because that’s where the hiking app led us. It was fantastic and so quick going. We’re still not sure why it had been closed (we only realised at the end of the hike it was closed). On the way back, we took the path we were supposed to use. It was mucky and yucky to say the least. The trail section, though seemingly short, took ages to get through since it went through thick, deep mud. The kind of mud that goes past your ankles and will seep into your shoes if you aren’t careful.
At least the waterfall was quite pretty. Unfortunately from the viewing platform the view wasn’t the absolute best, but the surrounding scenery was nice. We arrived by 9am and had no clouds at all obscuring our view of the falls and the mountains. Unfortunately there were many helicopters flying by which obscured the sound of the falls, but it is worth a visit nonetheless.
After you’ve had your fill of the falls, to return to Hell-Bourg, follow the same route you took on the way up.
Day 2: Hell-Bourg to Grand-Îlet
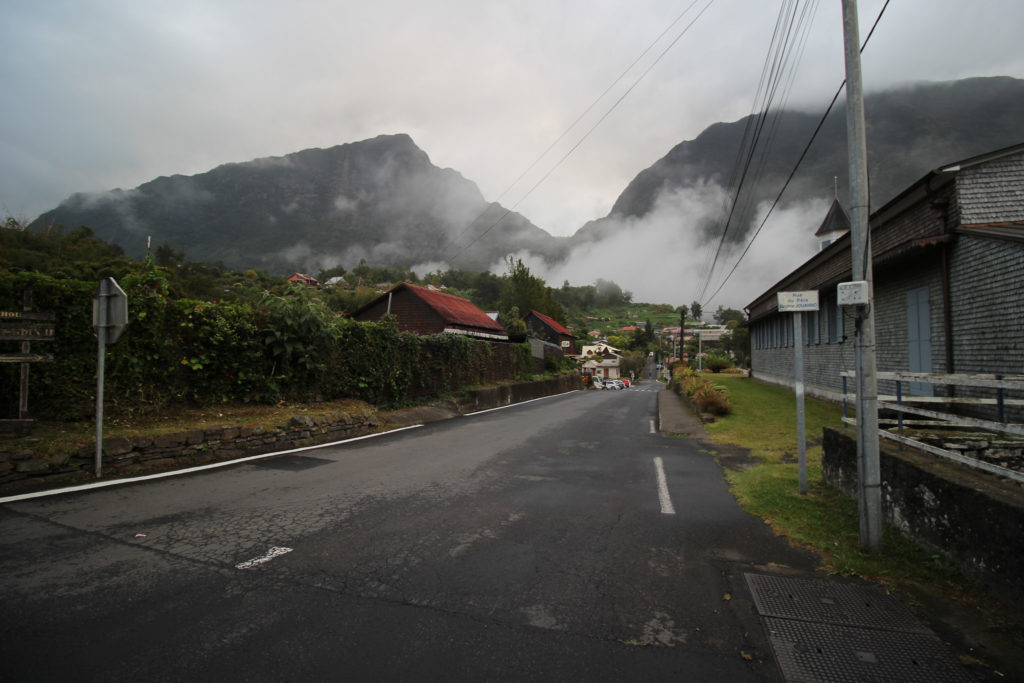
The day begins with a descent to the abandoned thermal baths of Hell-Bourg – ruined in a series of landslides.
From here the path heads up to a tarred road that goes through Ilets à Vidot for about 3km before you come to a junction after you cross a river.
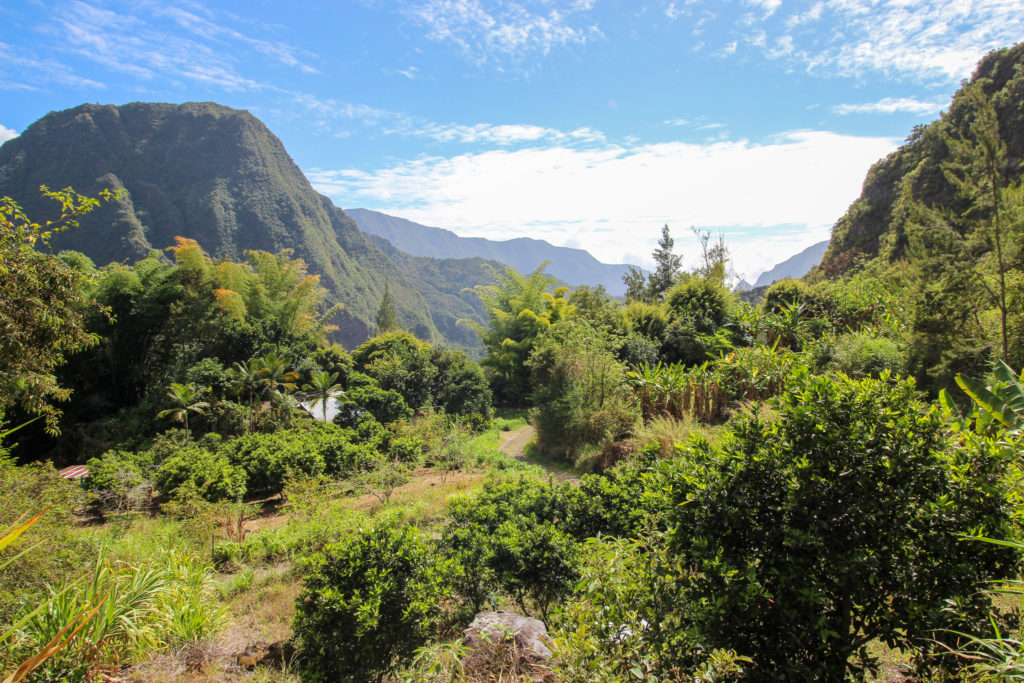
You can either follow the wider, easier road to the right or follow the road to the left that will turn into a narrow trail and be slightly more challenging.
We took the road to the left because we want to go to Trou Blanc – a river area with swim spots. While the swim opportunities were appreciated, we may have preferred the easier option this day.
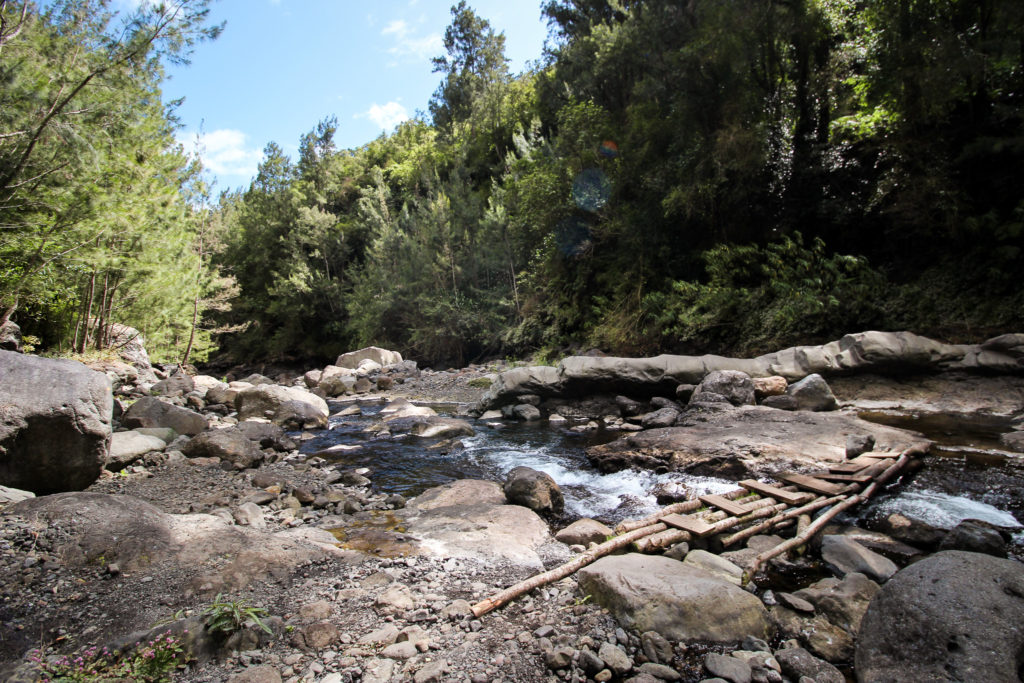
Our route followed the road before it became a narrow rocky path. It dipped in and out of Trou Blanc before it entered an area not many people must hike. At times, the path was a bit tricky to find (keep your eyes out for the white marker). It went through thick undergrowth in the forest and followed several river beds upstream before rejoining the other path near Grand Sable.
Grand Sable, as we found out, was a village that was completely destroyed and inhabitants killed in the 1800s during a landslide following torrential cyclone rains. There’s a granite memorial there that commemorates the deceased.
From here the path heads left through the forest towards a flowing river. You will need to cross this, walk a bit, and then cross a second river. There’s no obvious crossing point, so look out for the driest rocks, closest together and forge a path across.
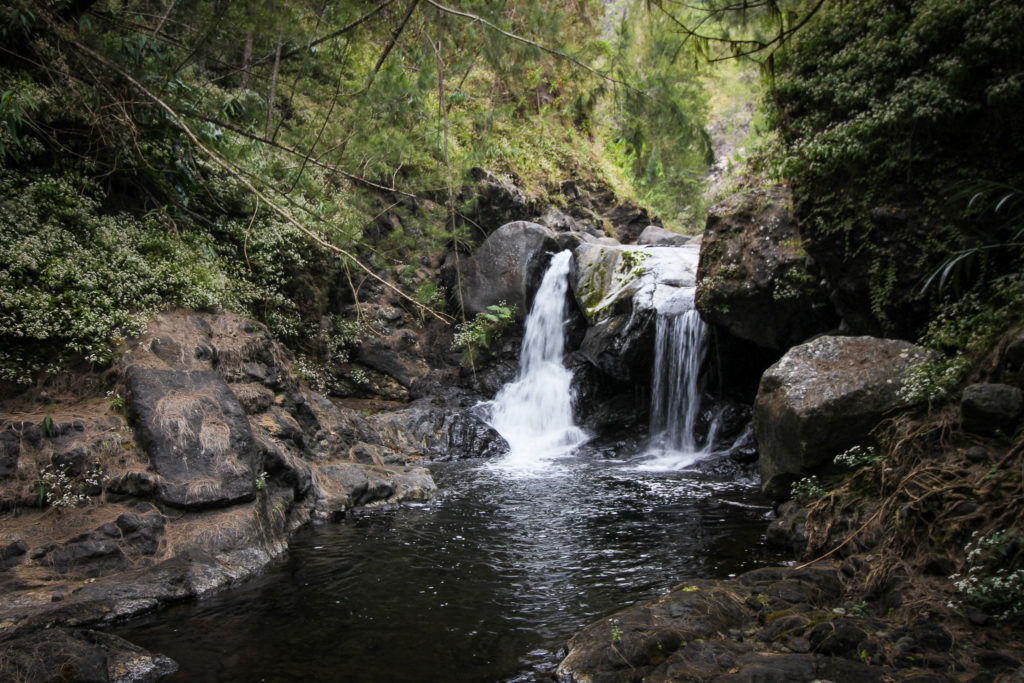
From the last crossing, the hike heads steeply uphill for a short bit, then flattens and then heads uphill again until you start passing farm houses. Eventually you will come to a tarred road. If you turn left, you’ll come to the parking lot and starting point for the hike on Day 3 into the Cirque de Mafate.
Day 3: Grand-Îlet to Ilet à Bourses
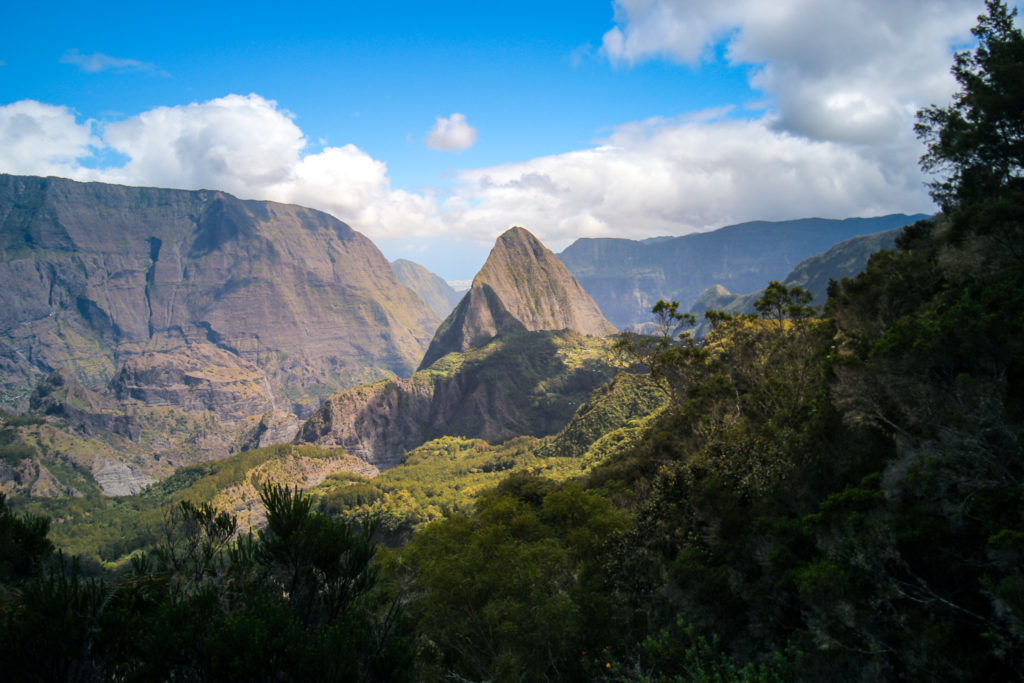
Today was the first day where the views really wowed us and where we really got a sense of the cirques and their steep sides and unique shapes.
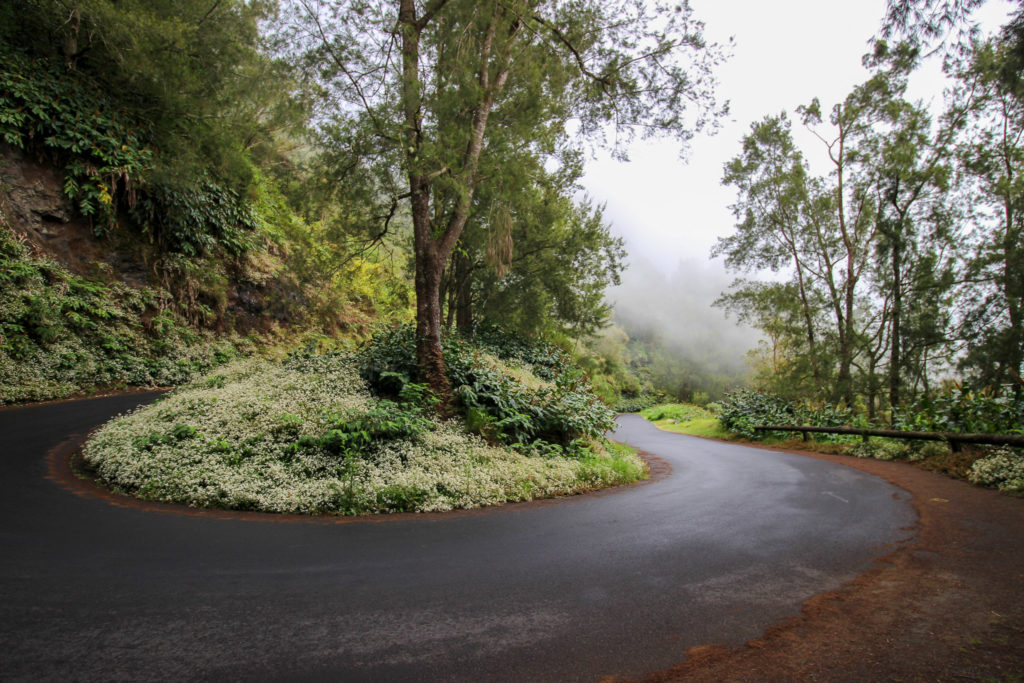
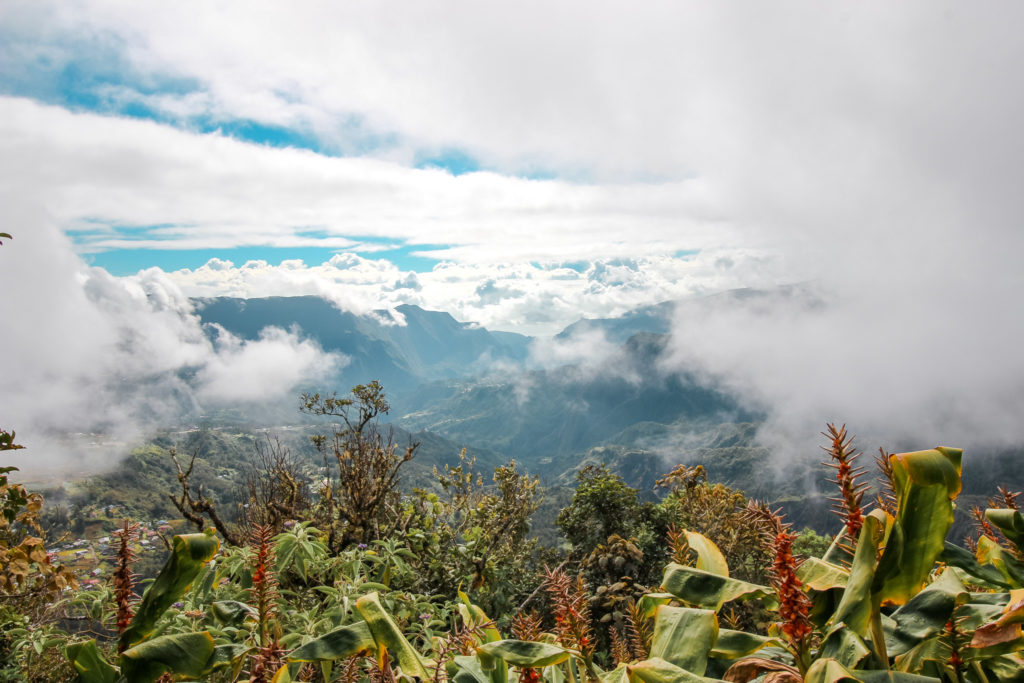
The first bit of the hike wasn’t the most exciting – you follow a road uphill for about an hour until you get to the hiking trails descending into the Cirque de Mafate. Unfortunately, we walked through clouds the whole time and saw nothing. It’s possible to drive up to this point and park there overnight – plenty of people were doing that. In fact, we didn’t see any other hikers on the road we walked up.
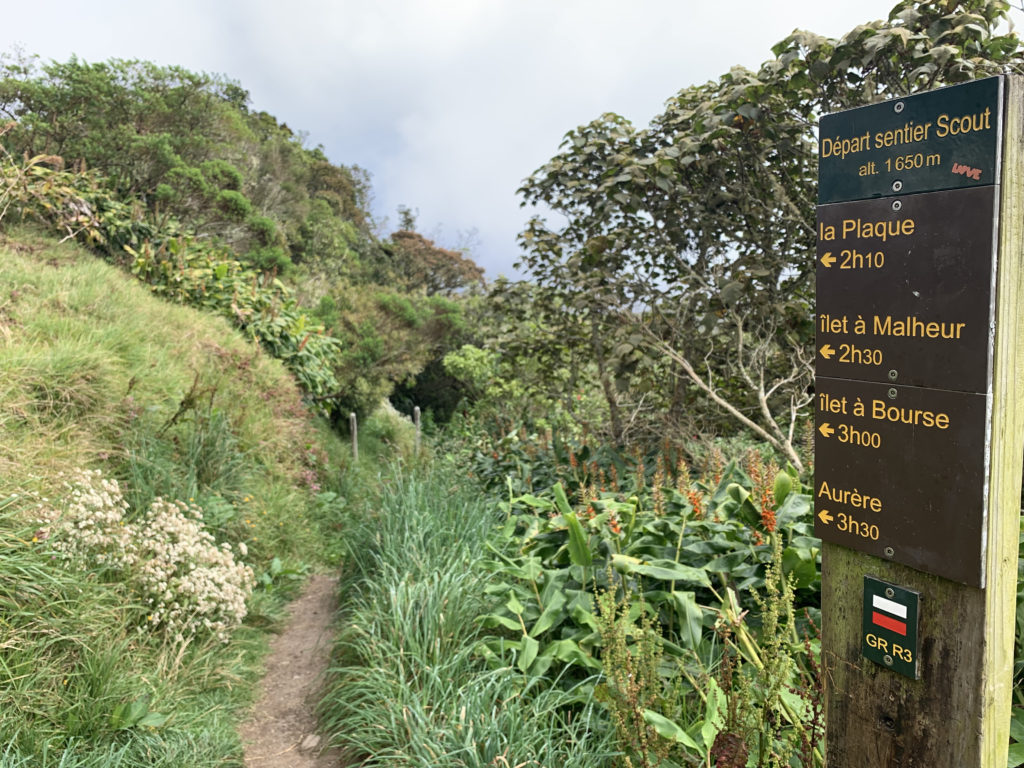
From Parking du Sentier Augustave, you’ll take the hiking path to your right and start descending into Mafate. Every now and then you’ll catch a glimpse through the trees of epic views and peaks. Keep going – the view gets much better.
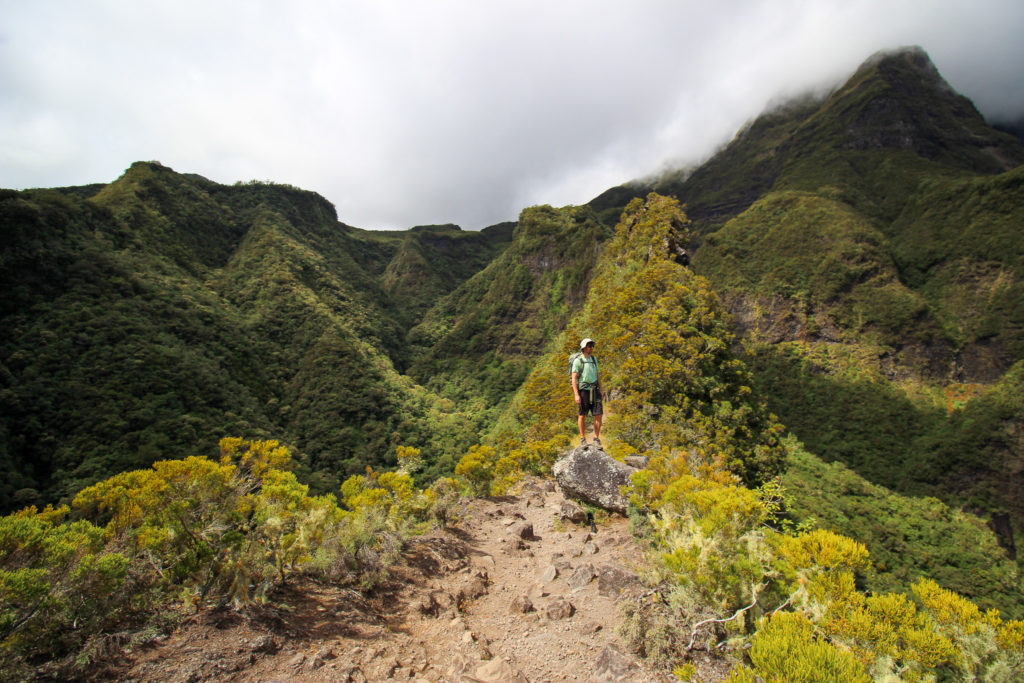
After you cross a stream, you’ll hike uphill to a saddle of sorts. The mountain drops steeply on both sides of the trail making this an exceptionally beautiful and thrilling part of the hike. After a bit you’ll descend through a steep forest path and cross a few more streams before a final ascent into Ilet à Bourses.
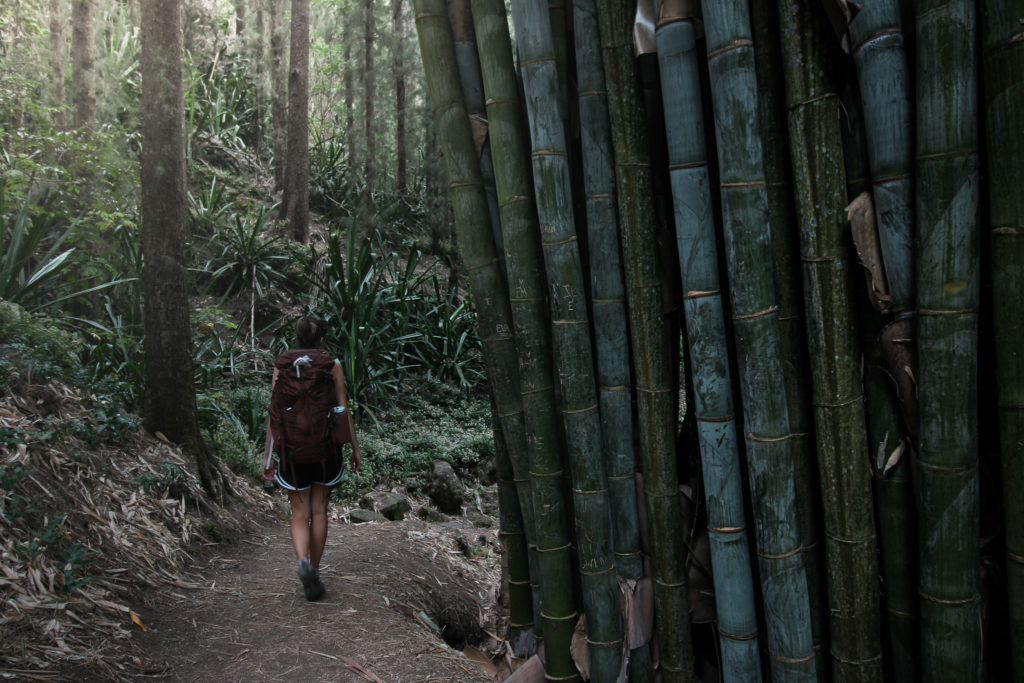
We arrived at the village quite early – around 13:00 after starting at around 8:30. Check in to our gîte was only at 15:00, so we went to the local snack bar and got a sandwich and bouchons (the little dumplings).
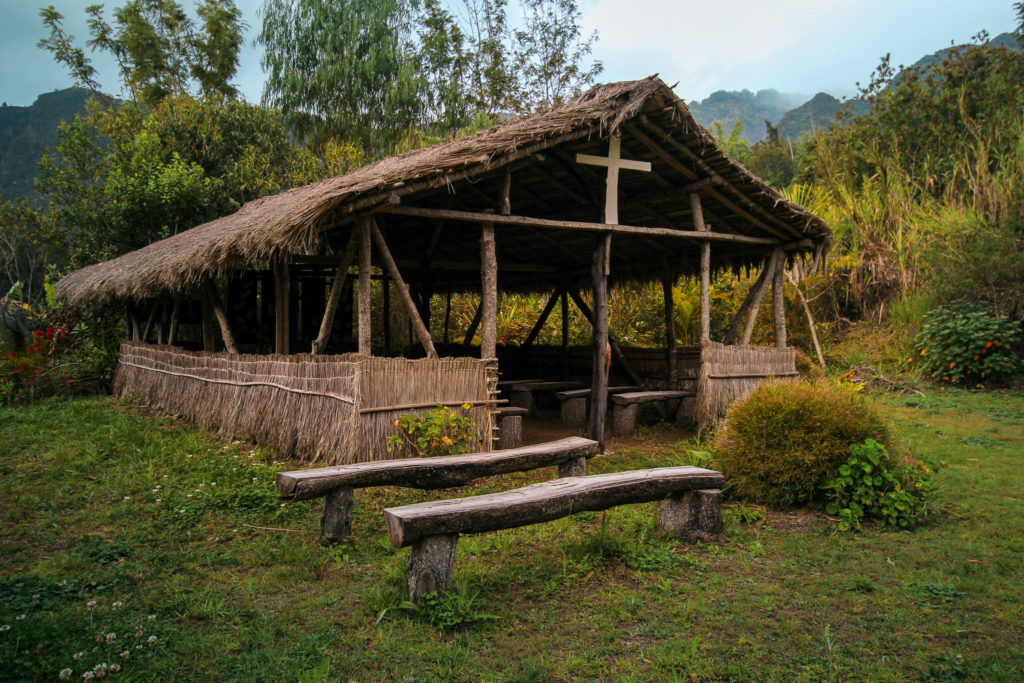
Day 4: Ilet à Bourse to Îlet des Orangers
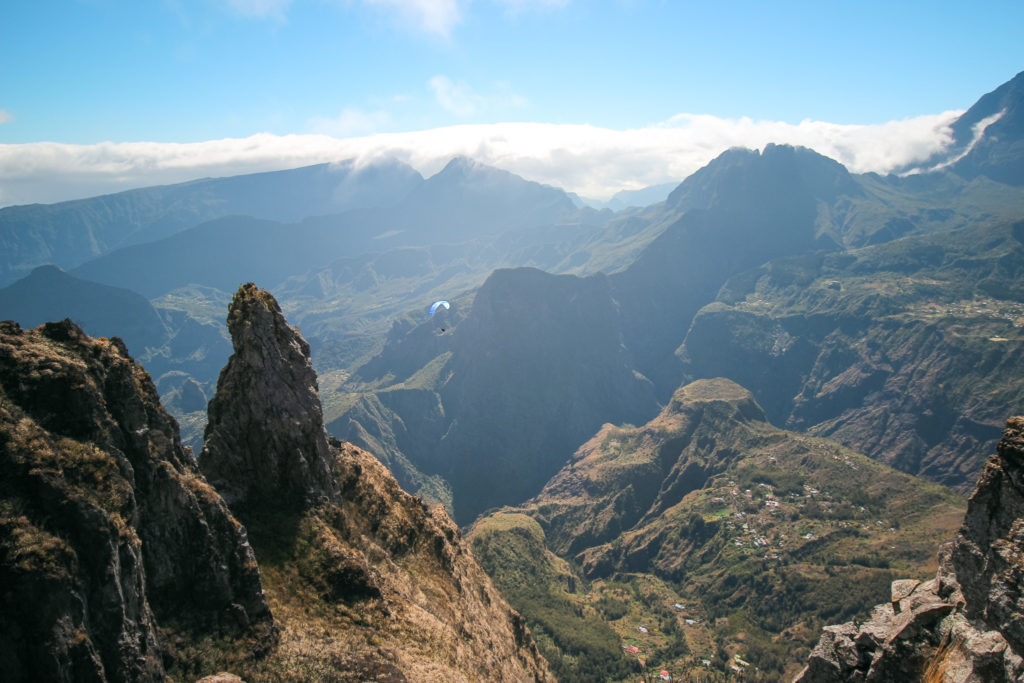
Of all the days, this had the most stunning views. The day starts off by descending towards and into Grande-Place – a hamlet of houses and a few guest houses. From there, you’ll find yourself in Cayenne not too long after. There’s a water refill point here near the church.
At this point you have two options. From Cayenne continue straight to the final destination. It’s about another 2 to 3 hours from this point if you go direct.
Alternatively, you can take a detour to a swimming hole if the weather is good and you still have time. We arrived in Cayenne at around 11am so we had plenty of time to take the swimming detour. To do this, head left towards Roche Plate.
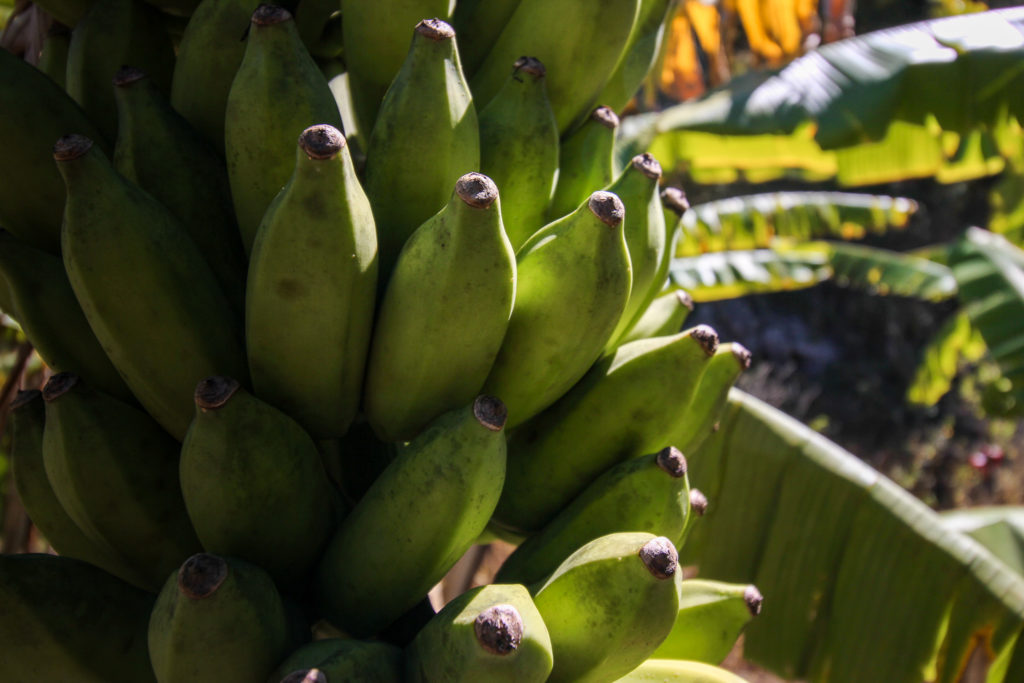
The trail remains relatively flat 3km, following along the river to your right below. At the last section before the swim spot, the trail descends roughly 200m along a series of switchbacks.
You’ll come to a rocky stream, which you should cross following the white dashes so that the river is now on your left. After another 500m or so, you’ll come to a larger pool of water where multiple trails intersect. This is the best swim point.
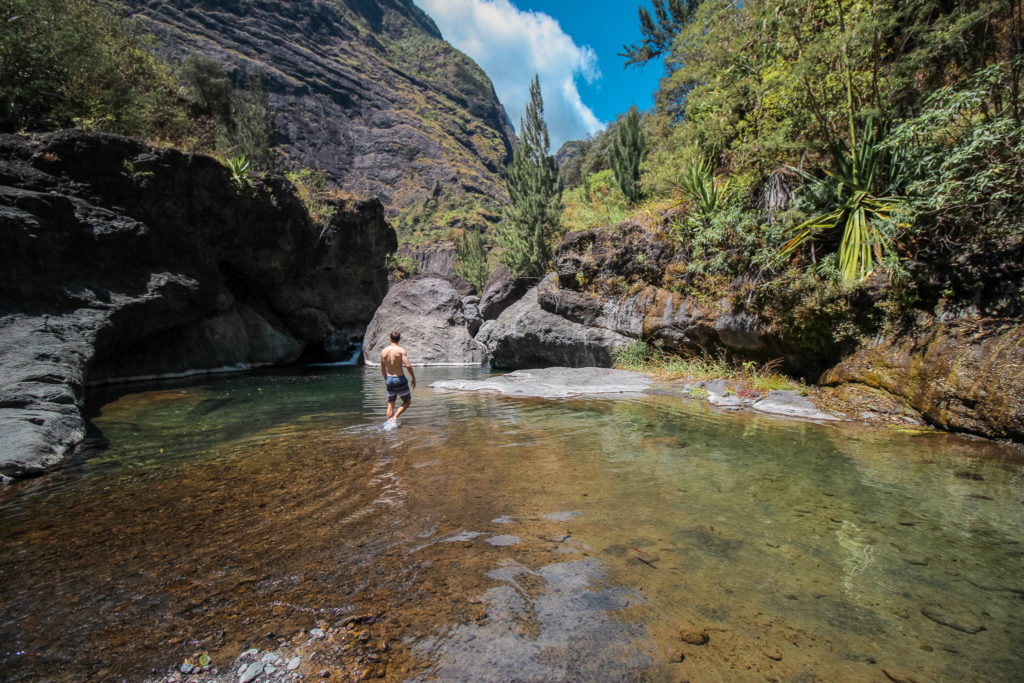
From here, you can either retrace your steps to Cayenne. Or you can take the trail pointing towards Roche Plate on the right side of the river (right side from the direction you originally came). The trail leads steeply up through a forest. It’s crumbly and a bit exposed at times but plenty of people use it. After some time it splits off and you’ll take the trail to the right leading towards Les Lataniers.
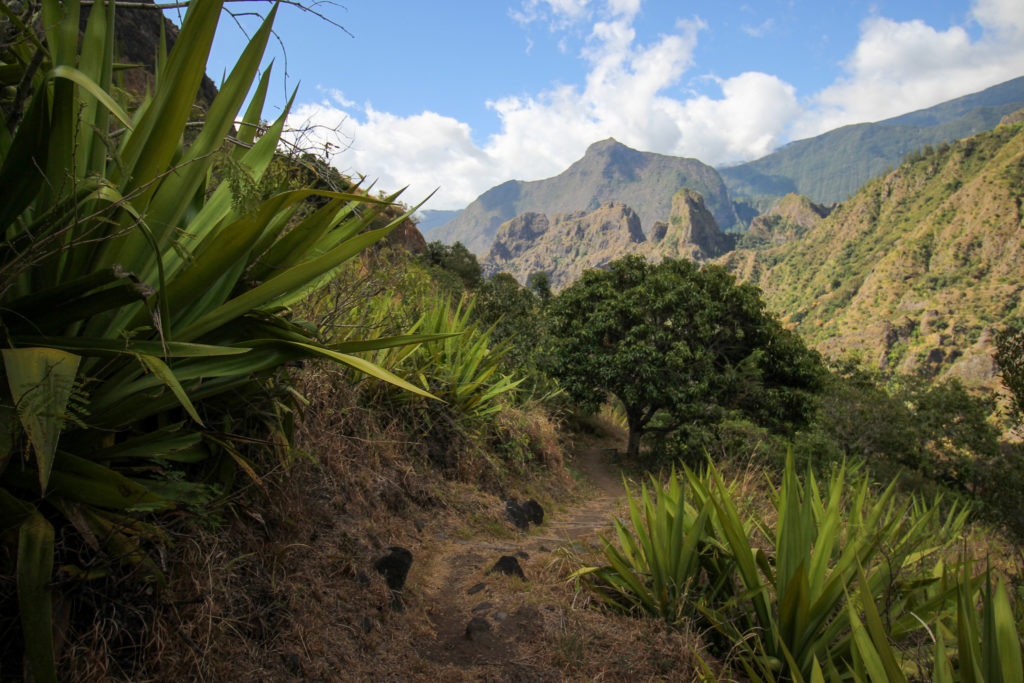
The advantage of taking this trail is that it has stunning views and it saves you about 200m of elevation gain that you’d otherwise need to hike if you went from Cayenne to Orangers.
After 3km you’ll pass through a village before you get to a trail juncture. You’ll follow upwards to the left to head towards “Canalisation Orangers”. After a bit of a steep hike up, you’ll soon enter a sheltered forest area with a bunch of pipes everywhere – the water supply system for the area. Shortly after this, you’ll come to Orangers.
Day 5: Îlet des Orangers to Maïdo
We decided to hike out this day rather than continue to Marla for another night and then onwards to Cilaos. A lot of the accommodation was already booked out in Marla and we also wanted to have a bit more time to explore the rest of the island.
From Maïdo we planned to catch a bus back to the city and then another to the airport to pick up a rental car. Since it was a Sunday, only two buses (line 61) were running from Maïdo into Saint Paul. At 10:15 and again at 15:15. Depending on the day you hike out, check the bus times in advance of your hike.
We decided to aim for 10:15. The bus ride back to the airport would involve 3 buses and would take roughly 3 hours so we didn’t want to get going too late.
We started our hike at 6:00. It was about 1300m of elevation gain over 7km and took us just about 3 hrs with very brief pauses along the way. We powered through a lot of the uphill and went quite quickly on the downhills and flats to gain time.
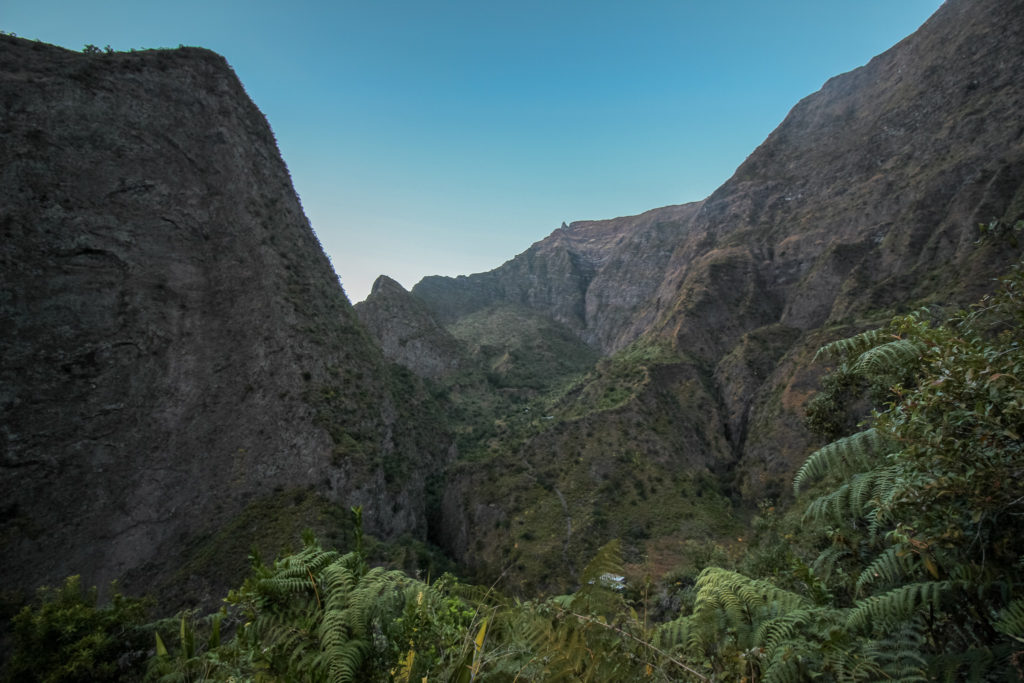
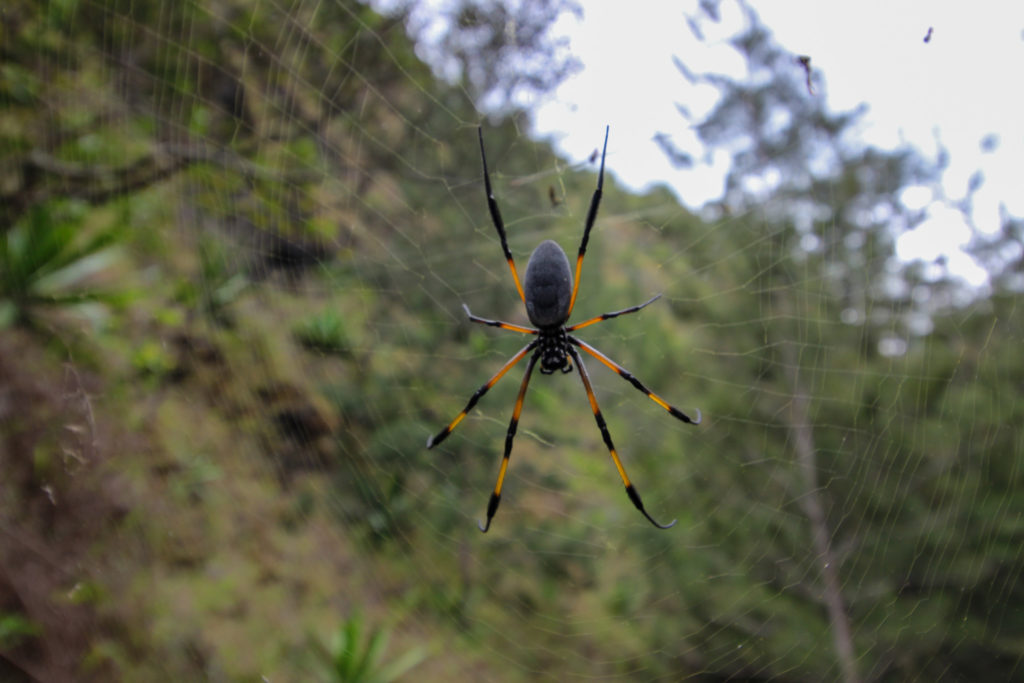
To do this hike, from Orangers the hike Leads first to a viewpoint called La Brèche. The first section (roughly 3km) is relatively flat with some downhill and a bit of an uphill. You’ll pass through trees with quite a few massive spiders in webs above you. They aren’t venomous, but they’ll hurt if they bite so just watch your head.
From La Brèche, the trail heads right through a gate and goes relentlessly up the mountain to Maïdo. If it’s raining or recently has been raining, you can’t use this trail as there is a real danger of getting caught in a rockfall. In the case of heavy rains, you’ll have to use one of the other paths to exit Mafate such as back up to Col de Boeuf.
The final section up to Maïdo is a long slow hike, but the trail is relatively fine and you’ll pass many trail runners. Or rather, they will pass you. Despite the painful ascent, there are plenty of beautiful views of Mafate to distract you along the way. If you started at 6am like we did, you’ll also hike most of this section in shade. Any later and you’ll be suffering in strong sun with very little shade.
One final section that flattens out near the top at about the 1900m mark has a steep drop to the side of the path so just take care to stay on the trail.
From here there’s one last climb up to a gate. From the gate, take a left and walk the final 30 minutes up to Maïdo.
If you are taking the bus, head down to the main view point. The bus (which looks like a shuttle bus and has the number ’61’ on it) will stop at the area at the round about by the viewpoint where ‘BUS’ is written in yellow on the road. You will need to wave the bus down to make it stop for you. The journey to the Saint-Paul main bus station takes just over an hour and costs €2.00 one way on-board (you can pay with cash).
Tips for Hiking in Reunion
- You should begin your hikes in the morning for the best chance of views of the peaks. Clouds tend to roll in by late morning.
- If you’re planning to hike up Piton des Neiges, you’ll want to hike up for sunrise. If it’s cloudy, give it an hour – the chances are good that the clouds will clear up a bit. But bring extra layers and warm clothing since it is very very cold at that hour when you’re 3000m above sea level.
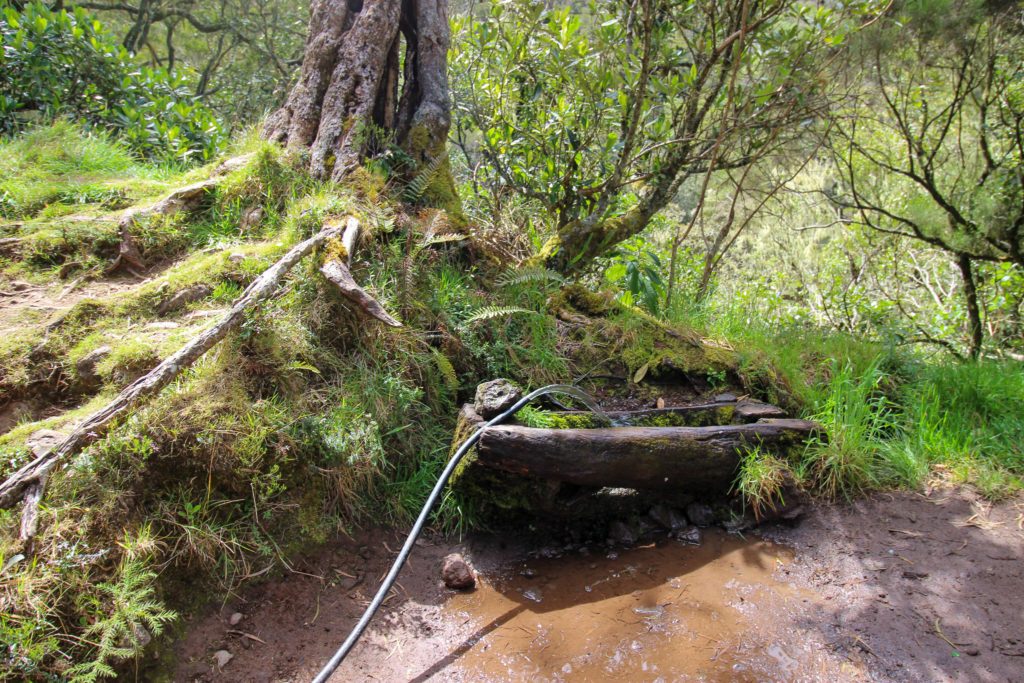
- We only hiked with 1 litre of water each at any moment to reduce the bag weight. We refilled at every opportunity in the hamlets along the way. You can also drink from the streams (refill ideally at higher points where the water runs quickly), but I’d recommend filtering the water and even using a Steripen (UV light) as a precaution.
- Download Google Translate offline for French translations, if you can’t speak French. Most people cannot speak anything other than French.
- While the streets and driving directions are not accurate on Google Maps, the timetables and routes for the public transport network are. You can use this to plan your bus journeys to and from the trailheads.
What time of year is best to hike in Reunion?
For short, day hikes, you can probably manage any time of year to find a good day to hike. But if you want to do a multi-day hike, you should avoid the rainy season. The paths get very slippery. Since they are quite steep at parts, there’s a higher chance of falling. Also quite a few places might just be impossible to access due to the danger of rockfalls.
Rainy season lasts from roughly December to March (summer on the island). This time also coincides with cyclone season which would put a bit of a dampener on your holiday if you got caught in a storm.
Some of the best times to go are in May and June, after the rainy season passed and everything is a nice shade of green, or in September to November. During these months, the weather is getting warmer again but without much rain.
We went in the second half of September which was perfect. It was hot enough by the beaches to go swimming and lay on the beach. But it wasn’t too hot up in the mountains yet to hike around all day nor was it rainy. In fact, we only got rain three times. Once a light drizzle at the end of the day in Grand-Îlet and then again, a heavier downpour, driving back from Takamaka Waterfall. When we went up to the Piton de La Fournaise we also got caught in occasional drizzle showers (mist clouds).
Where should I stay along the hike?
Inside of Mafate, your only option is to stay at gîtes – guesthouses that tend to be more basic in style and amenities. These also typically serve breakfast and dinner as part of your board (ie half-board).
In the other cirques, you’ve got more options. You can stay at gîtes, hotels (also quite basic) or at sec-catering accommodation.
In Cilaos, we stayed in a double room at Case Nyala which was quite nice and had breakfast included. It was centrally located and under €100 a night for two people.
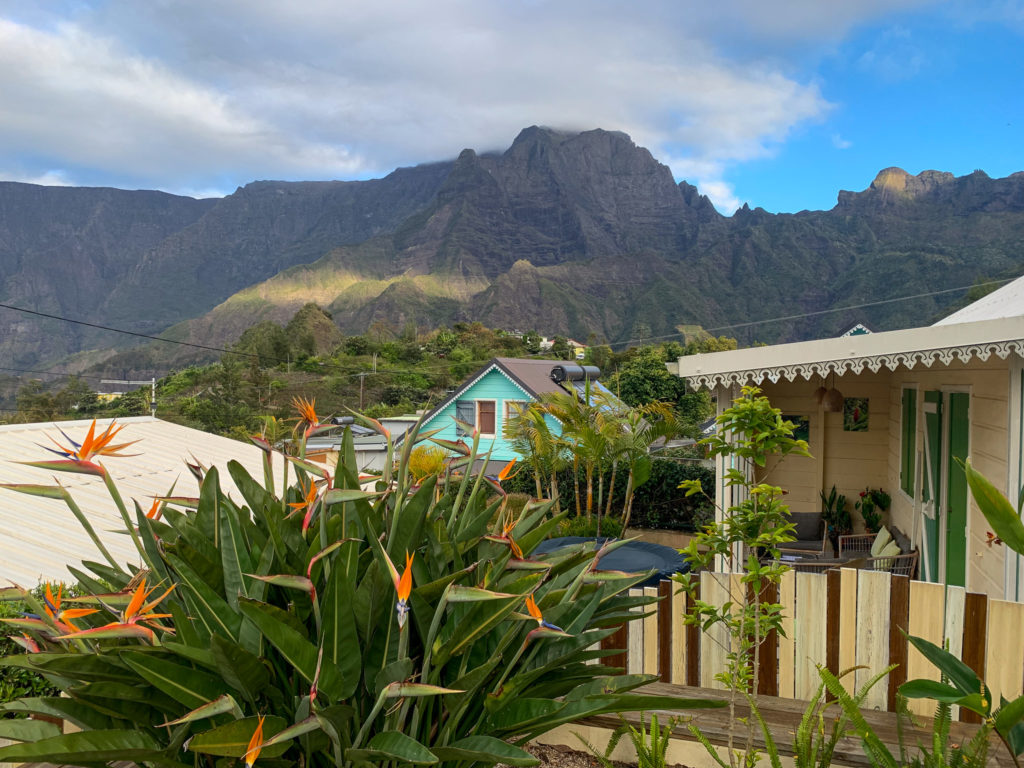
In Hell-Bourg, we stayed at a self-catering accommodation we booked through Booking.com called Lacaze Salazie. This was great for two night since it had a kitchen we could cook in and washing lines we could rinse our hiking clothes and dry on. There’s a small patio out front with a beautiful view of the mountains and sunset.
In Grand-Îlet we stayed at Le Cimendef. The family-run hotel was only about €75 a night for two with breakfast. However, it wasn’t the nicest place per say though it did the job – we got sleep for our hike next day. The downside of this place was that it was a 2km walk to the centre of town where all your dinner options are located (Chez Tania tends to be open in case you are looking).
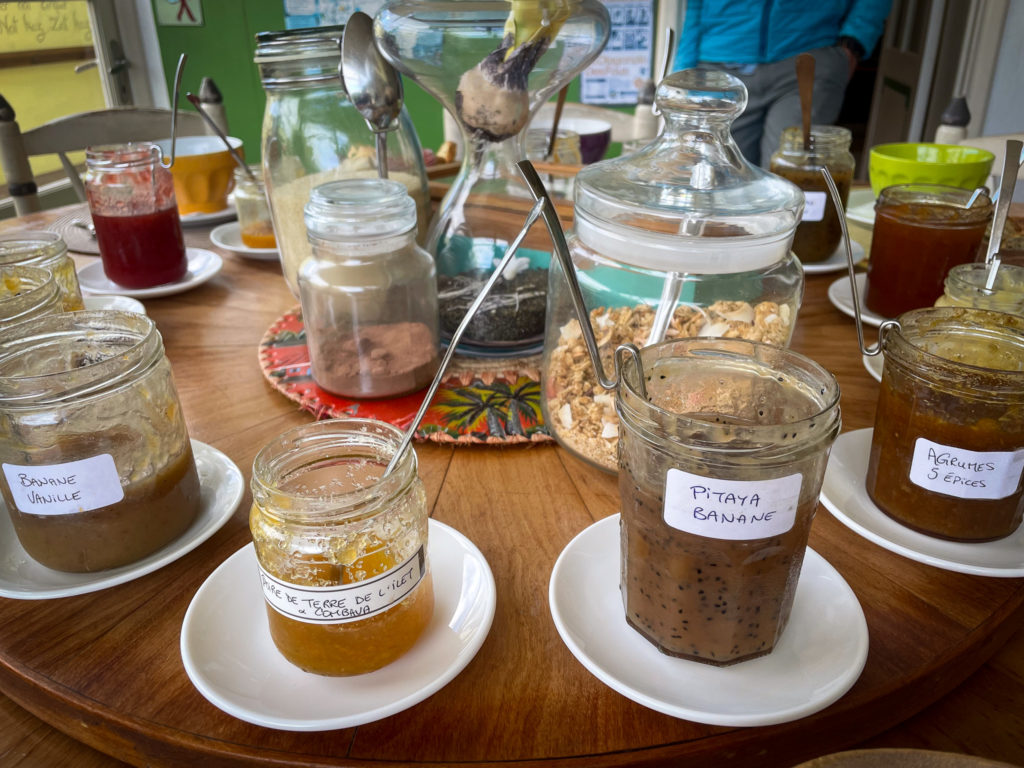
In Îlet à Bourse we stayed at Gîte de l’Ilet à Bourse. There was a pretty garden and the host was very nice. However there was quite a lot of mould in the room and ants on the walls which wasn’t pleasant given the cost (€117 for a double room with a private bathroom). Dinner (coleslaw, rice, lentils and chicken with a small dessert cake and a shot of homemade rum) and breakfast (bread, jam and some fruit) were included in the price. Dinner was at 7pm and was together at a table with the other guests which made for an interesting exchange when you can’t speak any french. There were sockets you could charge your phone in.
In Îlet des Orangers, we stayed at Gîte Fleur des Orangers which was very nice. The cost had breakfast (bread, sweet cake, jam) and dinner (coleslaw, samosas, rice, lentils, chicken and a sweet cake) included. We paid €130 for a double room (cash only) with a private bathroom. The room was very nice compared to the night before and didn’t have bugs or mould. However, there were beds available in the dorms and the shared bathroom was quite nice. (None of it felt unclean, so to speak). Like the previous night, the dinner was communal. There were a few sockets you could charge your phone, but it was advised against because of the scarcity of electricity.
What to pack for hiking in Reunion
Keep your bag as light as possible. Since it rarely is very cold outside (less than 10C) in the mornings or evenings when you are out starting your hike, you won’t need winter gear. We brought a light thermal sweater and a rain jacket. I didn’t even have long pants for hiking, though I had a pair of light long pants for the evenings to sit outside in.
It’s very humid and can get very hot along the trails, especially when you work up a sweat on the uphills. It was only near Piton des Neiges where we got cold in the clouds but about twenty minutes of walking along the plateau later and we were warm again.
Merino wool blend shirts, under garments and socks tend to hold the best without washing. You can reuse the same clothes for each day of hiking without much of a smell issue.
For only a day hike, you could get away with decent sneakers as long as they have grip. Otherwise, wear proper hiking boots or shoes (ankle support helps but isn’t absolutely needed). The paths can be quite rocky and slippery.
Alternative Route Ideas
While we covered a 6 day route starting in Cilaos and ending at Maïdo, there are many other routes you could take.
1 Day Hike into Cirque de Mafate (no overnight)
For a one day hike, I’d recommend hiking down from Col des Boeufs to La Nouvelle. It’s a 9km round trip hike with minimal elevation gain (500m). I’ve put together a trail map you can follow here.
2 Day Hike, 1 Nights into Cirque de Mafate
For a two-day hike, you have a few options. But if you want to start and end at the same point, say if you are leaving luggage for a few days, then you can try this option with an overnight stay in Grand Place, starting and ending at Grand-Îlet. Both days would require full days of hiking, but if you start early (e.g. 7:30 in the morning), the route is doable. Day 1 is mapped here, and Day 2 is mapped here.
If you want to start and end at different points, you can try this hike here which goes from Maïdo to Grand-Îlet. You can hike it in either direction. I would recommend overnighting in Cayenne or in Grand-Place to break-up the distance and elevation gain.
3 Day Hike, 2 Nights into Cirque de Mafate
To do just a three day, two night hike in Mafate, follow days 3, 4, and 5 of the route we did. You can access the entry (Grand-Îlet) and exit (Maïdo) points by the public buses.
